Archives for June 2011

How To Milk an Almond

I know what you thought when you read that title.  Winking smile

And as much as that makes me giggle, it’s not how you make almond milk. 

Almond milk is one of my favorite things.  Ever.  We go through at least 2 cartons a week here.  I usually like to buy it because it comes fortified with calcium, and as much as I love veggies I don’t always eat enough greens to get my calcium in.  So I usually do that with almond milk.

But sometimes I like to make it.  It tastes better than its store bought counterpart and best of all, you get to control the ingredients that go in it! 

It’s insanely easy to make almond milk- you only need a couple of things…

  • almonds
  • water
  • blender
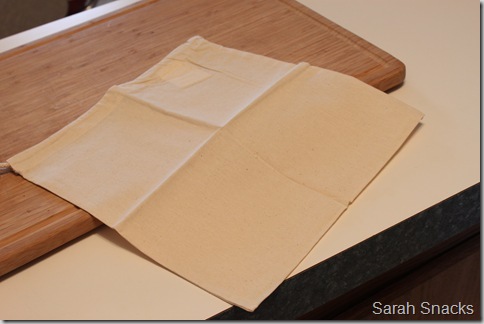
  • muslin bag (also called a nut milk bag- if you can’t find one you can easily make one with a large piece of muslin from your local fabric store)

And here’s what you do…

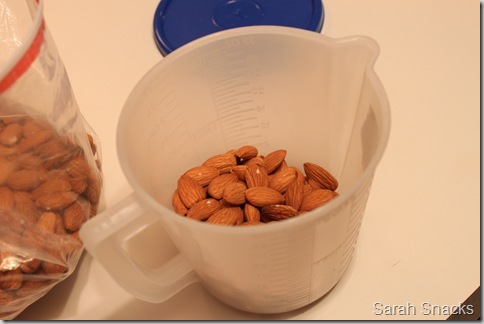
Place 1 cup of almonds into a container with a lid. (this will make 2 cups of almond milk, double this if you want more than that)

IMG_4105


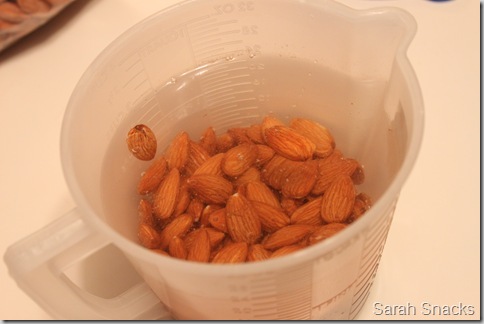
Cover almonds in water.

IMG_4107


Cover with lid and soak overnight in refrigerator.

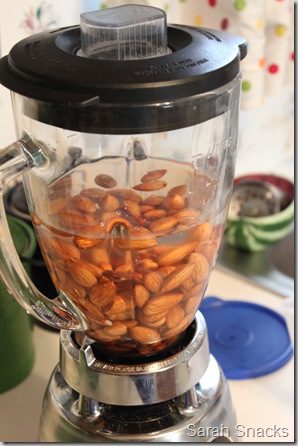
The next day, rinse almonds really well and place in blender with 2 cups of water(or 4 cups if you’re doubling it).

IMG_4114


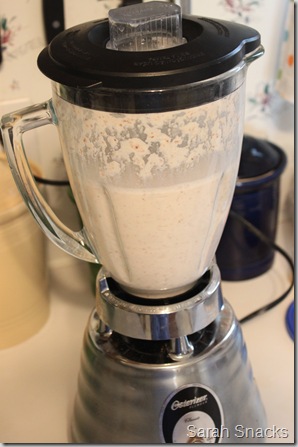
Crank it up!  Bzzzzzz……

IMG_4115


Strain it through the muslin bag into bowl or pitcher.  Really squeeze it to get all the liquid out (TWSS). (you can save the pulp in the bag to bake with or add to smoothies if you want)

IMG_4117


For the best tasting almond milk, chill before drinking.  If you like your almond milk a little sweet, you can add a little agave nectar to it after you strain it.  I like mine straight up!

IMG_4128

IMG_4124


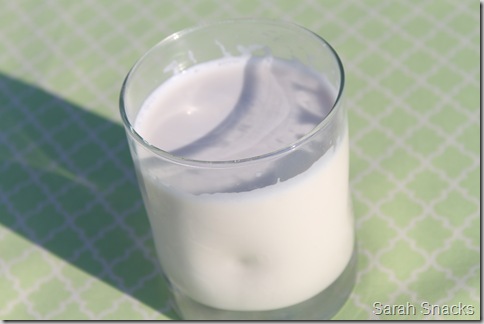
BOOM.  Almond milk.  Done!  It’s awesome.  You should try it.  Like, now!

DCFB33FA1087C7ABE7ECAC74BDFF501E

Cinnamon Vanilla Almond Butter

I made this one day on a whim and it turned out pretty great. The only problem is that I didn’t really remember how I made it. I just threw stuff randomly into the food processor and it turned out tasty. I had to go back and think about it, but I think I finally got it! Plus I knew if I didn’t figure it out I’d have hell to pay from Laura Winking smile!
I hope you make this- it’s so good!

Cinnamon Vanilla Almond Butter

Ingredients:
2 cups raw almonds
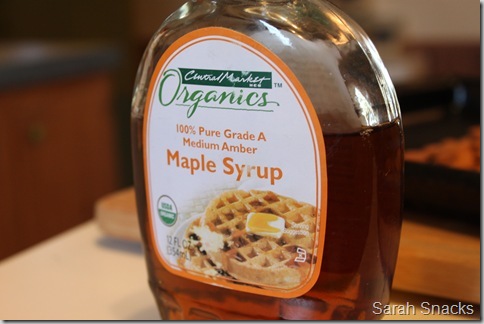
2 Tablespoons maple syrup
2 teaspoons vanilla extract (my secret weapon is that I use Mexican vanilla!)
1 teaspoon cinnamon
pinch of salt
drizzle of canola oil (optional, depending on what kind of consistency you like with your AB- I like mine a little runny so I add a little)

Directions:
Preheat oven to 325 F.

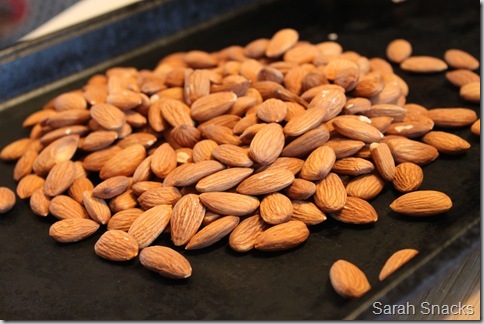
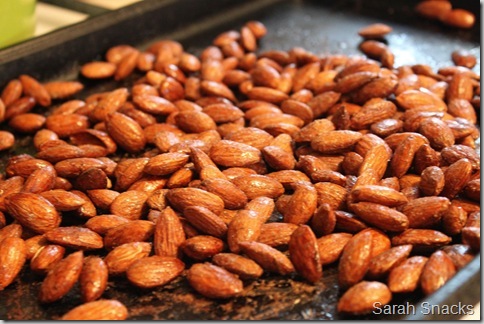
Pour almonds onto a baking sheet.

IMG_4048

Pour maple syrup onto almonds.

IMG_4050

IMG_4055

Get your paws in there and mix it all up!

Place in the oven for 20 minutes, stirring every 5 minutes.

IMG_4060

Let them cool completely, then pour them in the food processor (I help mine along by putting them in a bowl in the freezer- it cools them off faster!)

Follow my almond butter tutorial for butterizing the almonds in the food processor.

Toward the end of the processing add the cinnamon, vanilla, salt, and canola oil(if using).

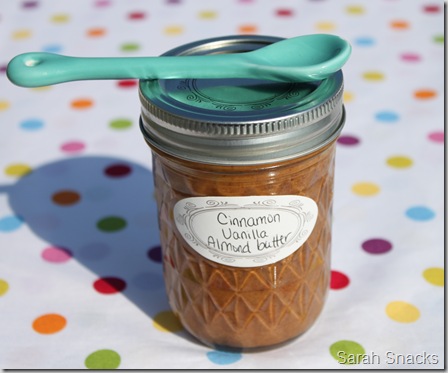
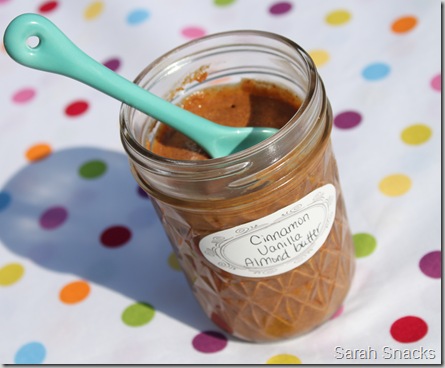
When you’re done pour it into a jar and take pictures of it!

IMG_4068

IMG_4071

And don’t forget to let me know how much you love it!

Open-mouthed smile

DCFB33FA1087C7ABE7ECAC74BDFF501E

Meatless Monday: Veggie Pot Pie

Happy Monday!  Since it’s Monday, that means it’s a Meatless Monday post!  I’ve been concocting this since last weeks post and really really looking forward to it. 

In my version of veggie pot pie, I use puff pastry for the crust instead of a regular pie crust.  It adds a nice light flakiness to it that you can’t quite get with a pie crust.  Of course if you can’t find puff pastry you can just use pie crust.  Oh and also- the smaller you dice your veggies, the quicker they cook!  Smile

Veggie Pot Pie
(Print this recipe!)

Ingredients:
1 cup potatoes, diced
1 cup carrots, diced
1/2 onion, diced
1 cup frozen peas
1 cup mushrooms, chopped (optional)
1 clove garlic, minced
2 Tablespoons Earth Balance
1/4 cup flour
3 cups vegetable broth
1/2 teaspoon thyme
salt and pepper, to taste
1 sheet of puff pastry, thawed according to package directions

Directions:
Pre-heat oven to 375 F.

In a medium sized pot spritzed with cooking spray or a little EVOO, sauté potatoes, carrots, and onions together over medium heat until the onions are tender.

Add the mushrooms and garlic to the mixture and sauté for another minute or so.

Push the veggies to the sides of the pot and put the earth balance right in the middle of the pot.

Let the earth balance melt, then sprinkle in the flour.  Stir together and let the roux cook for a minute.

Stir the veggies in with the roux.

Slowly pour the vegetable broth in.

Bring mixture up to a boil, stirring occasionally, then turn down to medium and let it simmer until it’s really thick.

Add the thyme and the salt and pepper, to taste.

Stir in the frozen peas.

Pour the mixture into a casserole dish that’s been sprayed with cooking spray.

Place the sheet of puff pastry on top(you might need to roll it out a little first with a rolling pin if it doesn’t quite fit in the casserole dish).

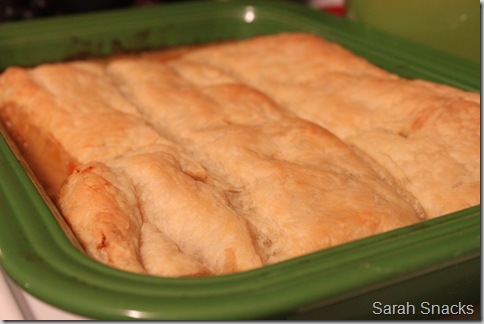
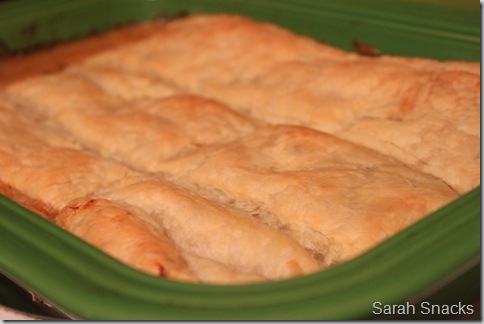
Bake for 30 minutes, until the puff pastry is nice and puffy and golden brown.


IMG_4040

IMG_4045

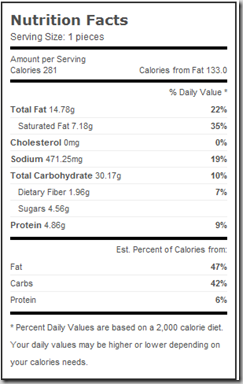
This will make 6 servings.  Serve it up with your veggie of choice- we did a nice salad alongside ours.  This is sooooo good and very comforting!  And it comes in pretty good in the calorie dept as well!

image

Hope you love this as much as we did!

DCFB33FA1087C7ABE7ECAC74BDFF501E

Weekly Weigh-In: Week 4

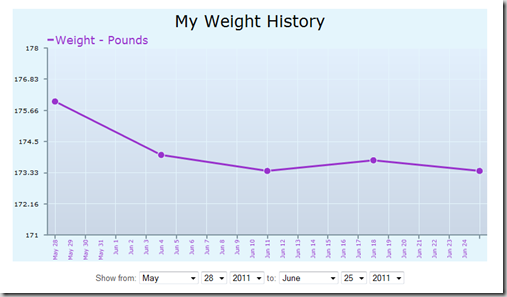
Last week’s weight: 173.8
This week’s weight: 173.4

Change this week: -.4
Total weight lost:  36.6 lbs!

Looks like I lost what I gained last week. (p.s. last week’s gain was hormone related, know what I mean?)  I didn’t have the best week food-wise this week.  I went over my calories almost every day.  I was also fighting with an upset stomach most of the week, so I didn’t really work out much. Blah.

Tis a new week though!  And this week just feels like it’s going to be an awesome week!  I’m super pumped for this week- my new running shoes should be coming in really really soon, so I’m excited to break them in!!

And here’s what I like to see…  (this is just since the end of May- picture what it would look like with my old weight of 210 on there!)

image

See how that line is going in the right direction?  That’s what it’s all about! 


P.S. Thanks Liz for recommending livestrong.com for tracking calories, I loooooove it!  It’s very simple and the design of the site is just very clean.  It’s more user-friendly than SP I think! (and the recipe builder is easier to use too)


I think I’m going to go with a Jillian Michaels quote this week…

Unless you puke, faint, or die… KEEP GOING!!!”

This is what my exercise tactic will be this week- I think I need a little tough love to get my butt in gear!

Have an awesome week!

DCFB33FA1087C7ABE7ECAC74BDFF501E

Wandering through the stockyards

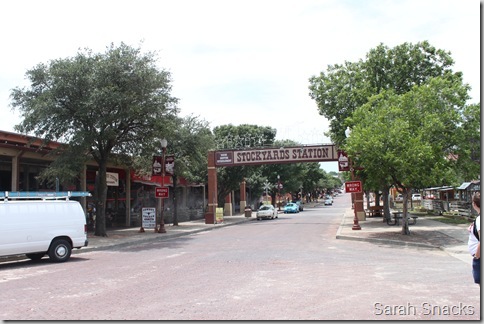
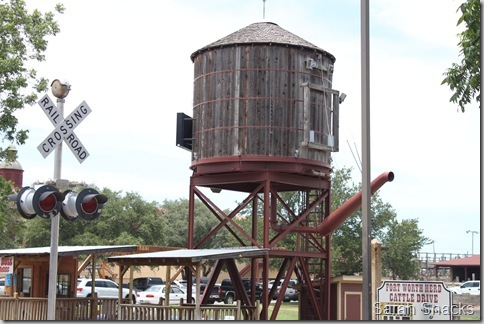
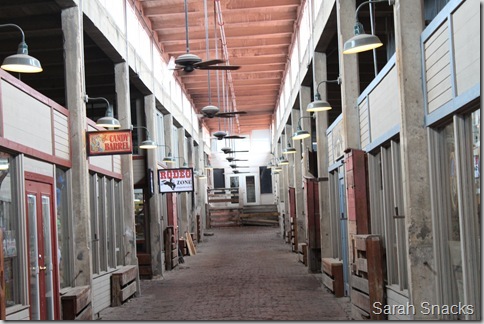
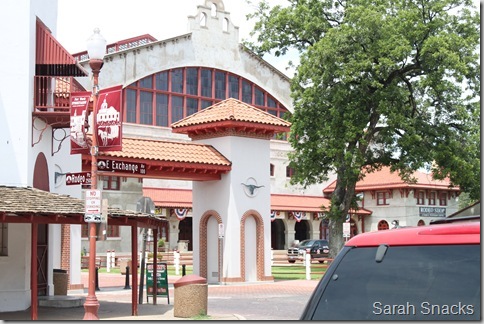
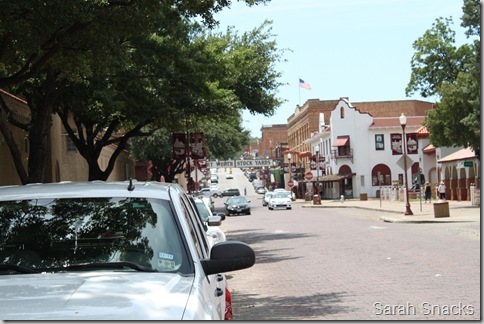
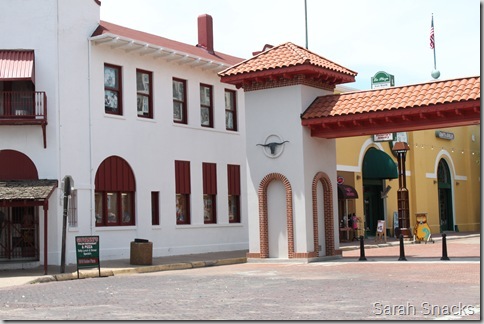
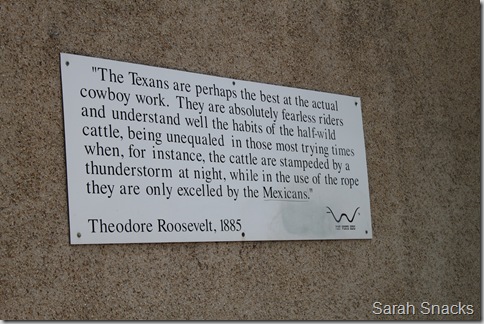
Like I said in yesterday’s post Laura and I went wandering through the stockyards after we visited The Spice and Tea Exchange.  I snapped a bunch of pictures as we wandered so I thought I’d share them.

IMG_3990

IMG_3991

IMG_3992

IMG_3993

IMG_3998

IMG_3996

IMG_3997

IMG_4014

IMG_4015

IMG_4016

IMG_3988

IMG_3989

IMG_4007

IMG_4011

IMG_4012

IMG_4013

IMG_4004

IMG_4005

IMG_4006


Good times!!!!

Have a great day!

DCFB33FA1087C7ABE7ECAC74BDFF501E