Taco mania!

www.sarahsnacks.com


We’re not just crazy over here- we’re also crazy for tacos!  LOL  Tacos are SO easy to make, fun to eat, and can be healthy too!

So here’s my take on tacos…

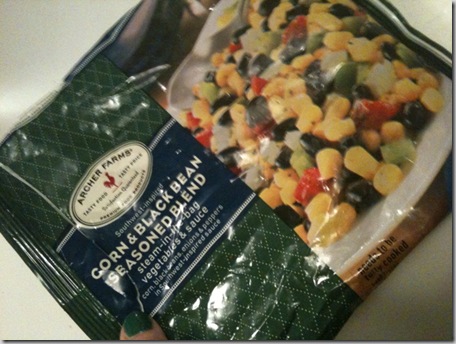
Take whatever ground meat you like (I use ground turkey because I don’t eat beef) or if your a veggie you could use the soy crumbles or even beans.  And here’s what I do that make mine a little different- I add a frozen veggie mix into the meat while I’m browning it up in the pan.  This is what I use- it does have some seasonings in it like garlic, cilantro, etc…but you could probably find something like this that is plain too.  (sorry for the awful pics, I’m still taking them from my phone.  Camera is still broken)

photo(6)


This mix has corn, black beans, onions, and bell pepper in it.  It makes tacos tastier, prettier, stretches the amount of ground meat that you have, and it’s also a good way to get in an extra serving of veggies!  :)  Then you add your taco seasoning.  If you like the stuff in the package, go for it.  If you want something with a little less sodium, make your own taco seasoning- just add salt, garlic powder, onion powder, chili powder, cumin, and a little cayenne if you like your tacos spicy!  So simple!

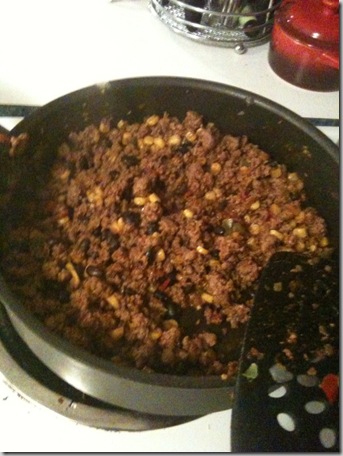
So it’ll look something like this…

photo(5)


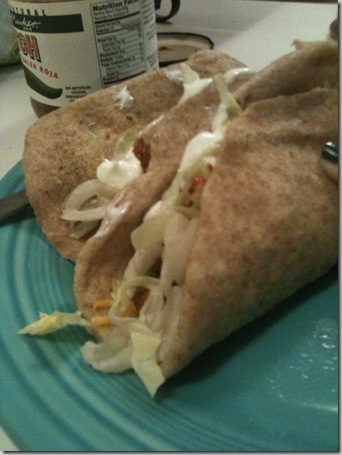
And that’s pretty much it!  Just scoop it into your taco shells (we like to use the whole wheat tortillas from Central Market- they make them fresh on site every day.  They’re delicious!) and add toppings!  Cheese, light sour cream, salsa, tomatoes, shredded lettuce, etc.

This also makes GREAT leftovers!  Tonight we’re using the leftovers to make nachos!. mmmm!  This is also AWESOME for taco salads.


photo(3)


Have a great day!  Adios!

Happy Birthday to the Harley Monster!

One year ago today our “little” girl was born!  What a crazy year it has been!  It takes some getting used to to have a really big dog, but they’re wonderful!  Big dogs give the greatest hugs!!  Anyway, I thought I’d just post a bunch of pics to celebrate her big day.

Newborn Harley…

DSC03314


Three weeks old…  (look at those fat little legs!)

3wks


I think these are 5 weeks.

DSC03997 DSC04001


Right after we brought her home…

Picture 016Picture 041

 Picture 042Picture 096

Snuggling with her toy…

Picture 038


Crazy face…

DSCF1796  


So cute!

DSCF1517


Whatcha doing?

photo1


Who needs toys when you have a stick?!

photo4


Getting on the bed when mom is trying to change the sheets (that’s a queen size bed!)

photo3


Birthday girl!!  (she got a new toy!)

photo5

For here or to go?

www.sarahsnacks.com

It seems like I live in my car these days- anyone else?  Some days it just seems so much easier to just grab something while I’m out, and I have to admit I’ve done it a lot.  But in the effort of saving money and eating much healthier I decided to just start taking stuff with me.  This goes way beyond the brown bag lunch!  Some days I have to take all three meals with me- plus snacks!  I’m not going to lie- It’s tough sometimes, but I know that I’m saving lots of money and lots more calories!

I eat breakfast in my car on the way to school most days.  Here’s why.  I usually leave around 6 am.  If I eat at home before I leave I’ll be hungry again in the middle of my 8:00 class.  And that just gets miserable when you are in the middle of a lab and you’re starving!  And you know that you won’t be able to eat anything for another 2 or 3 more hours!   Instead I eat my breakfast when I’m about 30 mins outside of Denton.  That will usually carry me through until I get out of class.

So for breakfast in the car, sometimes its just a bar and some fruit (I like the Clif Z bars or sometimes I get Kashi bars).  Sometimes its a good ole PB&J.  Quite a bit though, it’s oatmeal.

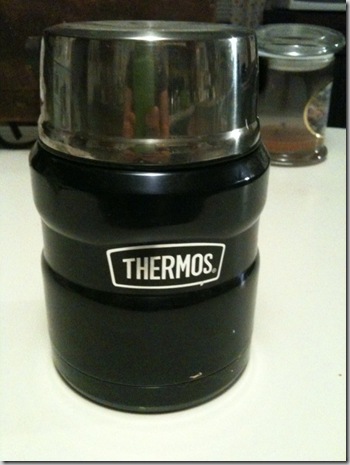
Oatmeal in the car?!   Yup- oatmeal in the car.  There’s this awesome thing called a thermos.  It keeps your food hot for about 7 hrs.(trust me it really does work!).  I just pour in my oats (usually instant), add hot water, put the top on, and throw it in my bag! (when you have to get up at 4 in the morning the last thing you want to do is stand over the stove and cook something, not to mention clean up after yourself!  that’s why I go for the instant.)

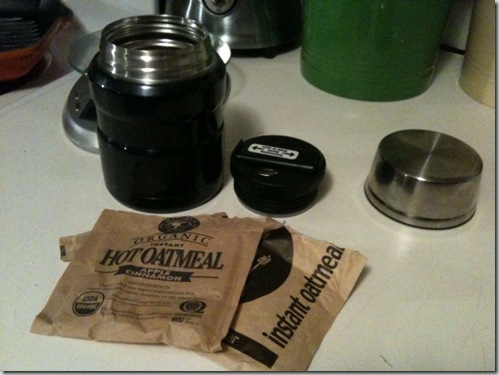
So here’s my thermos (I call him thermy).

Hi Thermy! 🙂
photo03

And here’s what goes into it.  Sometimes I do one package, sometimes 2- depending on how hungry I feel or if I have to go a really long time until lunch.  I love the heritage path organic apple cinnamon- YUM!  If I’m having 2 I’ll put a plain one in there with it.

photo01


Lunch is the standard brown bag stuff.  Sandwiches, leftovers, fruits, yogurts, etc…

Sometimes I have to stay on campus all day, so I take it with me.  Some days I’m driving home at lunch time and of course I’m starving so I’ll take my lunch and eat it in the car on the way home (that 1 1/2 hr drive home is REALLY long when your really really hungry!!)

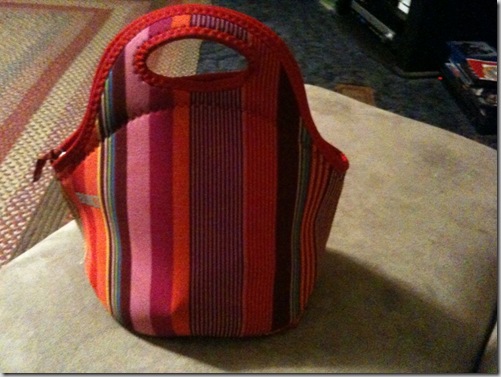
I pack it all up in my cute little lunch tote.

photo02


Snacks- I always pack snacks!  I throw a few things in my purse and I keep stuff in the glove box too.  (it came in handy the other day when I was running late and forgot to grab something for breakfast.  I just rooted around through the glove box and found a quaker breakfast cookie!)  And I don’t know why but purse snacks always taste the best!  (I know, I’m weird, lol)  I usually keep more perishable stuff in my purse like fruit and stuff since I take it inside with me.  But I keep stuff like granola bars and crackers in the glove box so that they can hang out there for a while.


Sometimes I have to take dinner with me- every other Tuesday I have rehearsal for the community band that I play in and that’s also a day that I’m gone all day for school.  I leave around 5:30-6 in the morning and don’t usually get home until after 9:00.  I know I’ll stop and get something unhealthy if I don’t plan ahead.  I’ll usually pack a little extra in my lunch on those days. 


Anyway, I hope I gave some proof that you can eat healthy, save money and time and NOT have to stop at the drive through to do it!

update and portabello sloppy joes!

www.sarahsnacks.com


School started back up last week and boy am I exhausted!  That first week always really gets me.  My classes are a tiny bit easier this semester and I’m taking a little less than I did last time, but my schedule is wacky!  The university is now only offering one section of each class so you either figure out a way to get it in or your screwed.  There was one class I couldn’t fit in, so I had to put it off. 

This semester I’ve got Organic Chem, which I am really enjoying!  I’ve also got Culture and Food, which is really neat.  And I’ve got Quantity Foods (Food Service).  I’m still on the fence on this one.  The lecture is okay, a little boring, but the lab is god awful!  I greatly dislike the lab teacher.  She’s about 100 yrs old and one of the rudest people I’ve ever met.  She’s not very nice.  Bah!  For the lab we have to go places and serve food- schools, hospitals, and here at the university.  We also have to put together and host a catered event.  It is SO much work for only 2 credits! 

Anyway, I haven’t had much of a chance to post lately, we also had some craziness going on around the house.  The bottom of our water heater rusted out in the middle of the night and flooded our kitchen, laundry room, and closet!!  So we’ve had to deal with that as well.  Needless to say it was a stressful couple of days and I had to shower at the gym on the way to school!

Hopefully now that the emergency situation is over I can blog a little more regularly. 🙂


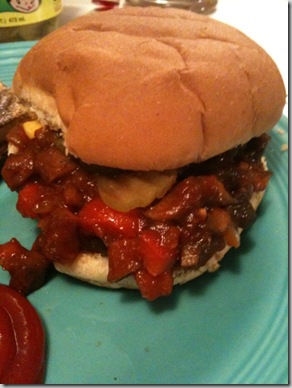
I also wanted to share a really really awesome meal!  Vegetarian sloppy joes!  Sounds weird, but super duper yummy!!

Got the recipe from Rachael Ray- love that lady!  Her recipes are getting much healthier lately and they are very easy to modify for any health needs that you may have.

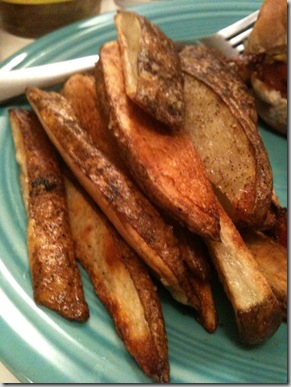
Here’s the recipe– please try it, it’s amazing!  The only thing I would do differently is cut down on the brown sugar- it was really sweet.  I’ll probably cut it down to 1 Tablespoon next time- I think that would be perfect.  I served mine up with a little pickle and mustard and some oven fries!

Here are some pics (sorry for the quality they’re from my phone- my camera is still broken. 🙁 )

portabello joes oven fries


I’ve already got a test to study for- gotta get back to work!!

Onion Rings

www.sarahsnacks.com

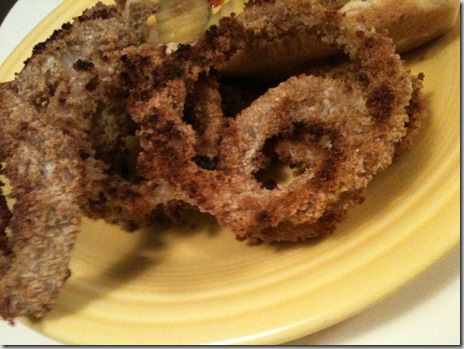
I think these are even better than fried onion rings!  You get all of the taste and crunch of an onion ring without any grease, upset stomach (fried things tend to upset my tummy- anyone else?), or guilt!  That’s right my friends these are some serious guilt-free onion rings!

What’s the secret?  Panko bread crumbs of course!  If you can find whole wheat ones, then that’s even better because you’ll get some extra nutrients in there. (make sure to check out the ingredients on the panko bread crumbs, some of them contain hydrogenated oils :(.  Of course, you want to choose one of the ones that don’t)

It takes a little while to get these ready to go in the oven, but they bake up really quickly.  And they’re well worth the effort!  Here we go!!

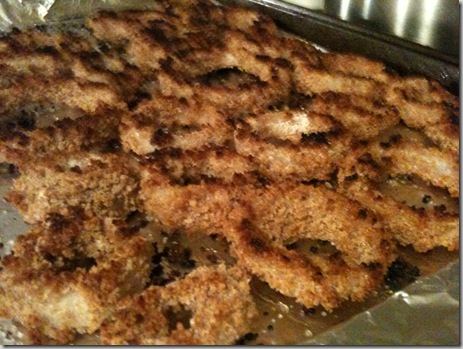
photo_1 

Ingredients:

  • An onion or two(depending on how many you want to make), sliced into rings  (I like sweet onions best, but you can use whatever you like)
  • Whole wheat flour, about 1/2 a cup
  • a little milk, about 1/2 cup or so
  • 3 egg whites, beaten until foamy (this is important!  If you don’t whip them, then the onion rings won’t turn out!!  It seems weird, but go with it.)
  • whole wheat panko bread crumbs, about 2 cups
  • salt and pepper
  • olive oil mister or cooking spray to spritz on the rings

What to do…

All right, set up a little assembly line in this order: milk, flour, egg whites, bread crumbs.

Dip the ring into the milk, then dredge in the flour.  Then it goes into the egg white foam, then coat in bread crumbs.  (it’s important that you do all of these steps in this order.  the milk helps the flour stick to the onion ring, which helps the egg white stick, which makes the bread crumbs stick.  you get the idea.)

Repeat with the rest of the rings and place them onto a sprayed baking sheet (I usually line with foil for an easier clean up)

Spritz the top of the onion rings with your olive oil spritzer or cooking spray.  Then sprinkle with a little salt and pepper.

Put in a 425 degree oven till they’re nice and brown. 

Enjoy!!


photo_2