Blueberry Glazed Donuts

There’s not much that’s better than a delicious donut.  Especially one that’s… healthy?  Wait, what’s that?  Donut?  Healthy?

Of course- and it’s all thanks to this!

image

Now you can BAKE a donut.  You get to control the ingredients in your donuts.  And they’re baked, not fried so it won’t leave your tummy hurting (I have a pretty sensitive stomach and too much fat really does a number on my tummy!).

I got my donut pan on Amazon.  I originally got the regular sized 6-count donut pan.  Then I was browsing around Hobby Lobby one day and I noticed that they had donut pans too.  So I got one of the 12-count mini donut pans.  I’m having so much fun experimenting with different recipes for donuts!

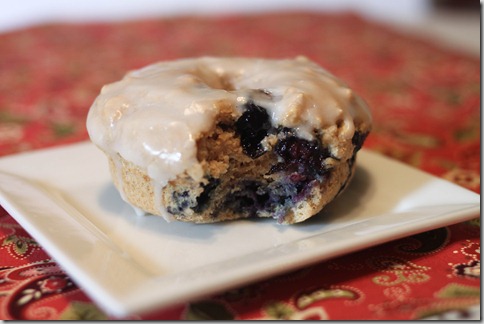
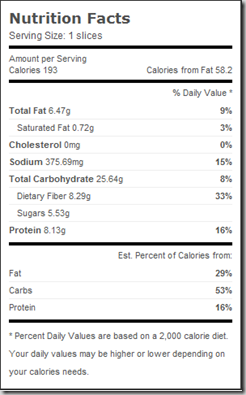
First up is a blueberry glazed donut that will knock your socks off!  These donuts are low fat and vegan but don’t let that fool you because they’re amazing!!

IMG_5588

Blueberry Glazed Donuts
(Print this recipe!)

Ingredients:

For the donuts:
1 cup AP flour
1 cup Whole Wheat pastry flour
1 T baking powder
1/2 t cinnamon
1/4 cup applesauce
1/2 cup sugar
1 t vanilla
1 cup non-dairy milk
1 cup blueberries

For the glaze:
1/2 cup confectioners sugar
1-2 T non-dairy milk (depending on the thickness that you prefer for your glaze)


Directions
Preheat oven to 350 degrees F.

Combine dry ingredients in a medium sized bowl.

In a small bowl combine wet ingredients.

Add wet to dry and stir until just combined.

Carefully fold in blueberries.

Spoon mixture into a donut pan that’s been sprayed with cooking spray.

Bake for 12-13 minutes until donuts are firm and slightly brown.

Let cool in pan for 5 minutes.

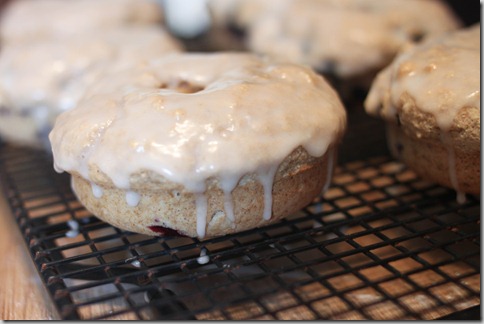
For glaze mix together the confectioners sugar and milk and dip each donut into glaze.  Let donuts sit until glaze hardens. (NOTE: if you store these in an airtight container the glaze will melt so plan accordingly!)


IMG_5553


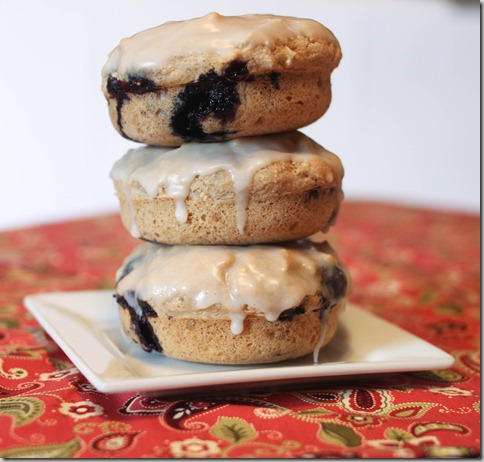
IMG_5583


NOM!!

Enjoy!

dcfb33fa1087c7abe7ecac74bdff501e5

Meatless Monday: Lentil Loaf


image


We’ve heard of Meatless Monday, yes?  If you haven’t heard of it check out the Meatless Monday website.  Of course every day is meatless for us, but I don’t believe that the meatless thing has to be an all or nothing thing for everyone.  Not everyone is willing to go completely meatless, but everyone can commit to having one meatless day a week.  Simple!  You’ll get in more veggies, reduce your risk of some chronic diseases(heart disease, diabetes, cancer to name a few), and help the environment all at the same time!  So let’s do this!  Each Monday I’ll give you a great meatless recipe and a whole lot of encouragement!

On with the recipe…

I know you’re probably thinking that lentil loaf sounds weird, but trust me when I say it’s so good!  We actually crave it- especially in the winter.  It’s an amazing comfort food, and I think it’s appropriate at all times of the year!  This recipe gets a big thumbs up from the husband. (he actually requests it sometimes!).

And the best part…. the leftovers!  This is amazing on sandwiches the next day.

Lentil Loaf
(Print this recipe!)

Ingredients:
2 teaspoons olive oil
1 onion, chopped
2 carrots, shredded
1 clove garlic, minced
2 cups cooked lentils
1 cup whole wheat bread crumbs
1/2 cup walnuts, finely chopped or ground
1 Tablespoon ground flax seed
1/2 cup ketchup, plus more for spreading on top of loaf
2 teaspoons vegetarian worcestershire sauce
2 handfuls chopped parsley
1 teaspoon salt

Directions
Preheat oven to 350 F.

Spray a loaf pan with non-stick spray.

Sauté onion, carrots, and garlic in the 2 tsp of olive oil until tender.

Add to a large mixing bowl along with all of the other ingredients.

Stir and lightly mash the mixture with the back of your mixing spoon until it comes together.  If it’s too dry and won’t come together you may need to add a few splashes of water or vegetable broth. (or if it’s too wet you can add more bread crumbs)

Press mixture into loaf pan and spread a little more ketchup on top.

Bake for 1 hour, let cool for 10-15 minutes before serving.

Cut into slices- you should get eight servings.  Serve with mashed potatoes, green beans, and rolls for some classic home cooked comfort food.  OR on a sandwich- the best thing to do with the leftovers the next day!!!

image


I swear I could NOT get a good picture of this- though I took like a billion. I think you’ll have to make it and just trust me that it’s delish.

Happy Meatless Monday!

DCFB33FA1087C7ABE7ECAC74BDFF501E

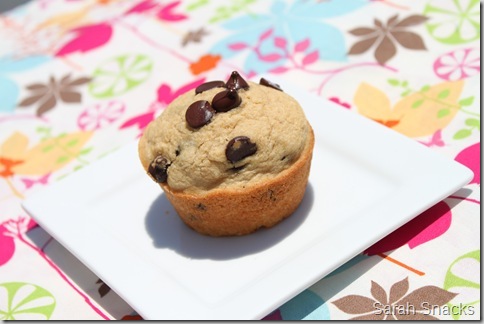
Whole Wheat Chocolate Chip Muffins


Gooey melty chocolate.  There’s not much that’s better!


IMG_3891


Usually when I’m playing around with recipes I have to make them several times, tweaking them each time before it turns out just right.  But this time it turned out pretty amazing on the very first try!

This is both a treat and a sweet, done in a more healthy way.  No oil or butter necessary.  Made with whole wheat pastry flour- all the nutrition of whole wheat flour without the density.  If you’re not already baking with it you definitely should be(I usually get it in bulk at my local health food store, but Arrowhead Mills, Bobs Red Mill, and King Arthur Flour are some brands to look for)!

These babies clock in around 133 calories and are super easy to make, so get in that kitchen and get to baking!

Whole Wheat Chocolate Chip Muffins (makes 12 muffins)
(Print this recipe!)

Ingredients:
2 cups whole wheat pastry flour
1/2 teaspoon salt
1 Tablespoon baking powder
1/2 cup organic sugar
1 cups unsweetened almond milk
1/2 cup unsweetened applesauce
1 teaspoon vanilla
1/2 cup chocolate chips, plus more for sprinkling on top

Directions:
Preheat oven to 350 F.  Spray muffin pan lightly with cooking spray.

Combine dry ingredients in a medium sized bowl.

Add wet ingredients and stir until just combined.

Fold in chocolate chips.

Divide batter evenly into the muffin pan.  You should get 12 muffins.

Sprinkle a few more chocolate chips on top of each muffin.

Bake muffins for 20-25 minutes until toothpick inserted into a muffin comes out clean.


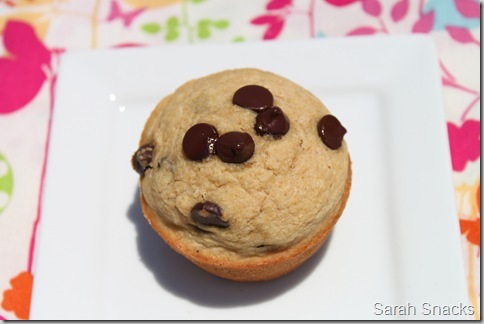
IMG_3899


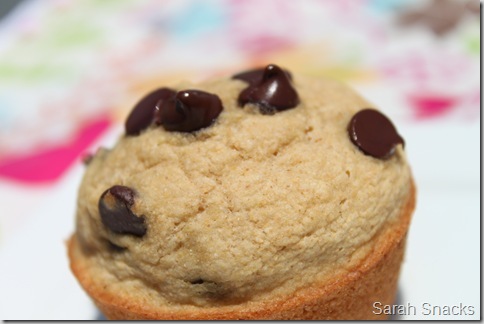
Mmmmm- melty chocolate!  Yes, they really are as good as they look!

IMG_3902

P.S. I found myself thinking “work it baby!” as I was taking these pictures.  Ahh, I’m such a nerd!  Nerd smile

DCFB33FA1087C7ABE7ECAC74BDFF501E

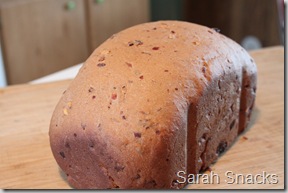
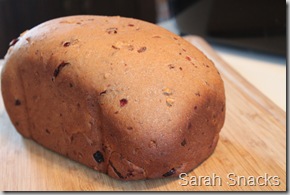
Whole wheat cranberry walnut bread

This bread is epic.  I’m not joking.  We’re talking life changing here people!  This is so amazing that if you don’t have a bread machine I’m suggesting you go out and buy one right this second and immediately make this bread.

I took a bite of this and said holy sh*t this is amazing!  And I’m not much of a curser, so that’s how good it is!

As I was filling the cranberry and walnut bins at work I was thinking about cinnamon raisin bread.  (and who doesn’t think about cinnamon raisin bread while they’re at work, am I right?) and I was like OMG cranberry walnut bread!  And a star was born!

I won’t waste any more time jibber jabbering because the more time you spend here reading this the less time you spend making this insanely amazing bread.  And don’t be scared of the whole wheat thing- this bread is nice and light and fluffy!!

Whole wheat cranberry walnut bread
(Print this recipe!)

Ingredients:
1 cup warm water
1/4 cup canola oil
1/4 cup agave nectar (honey would work too if that’s what you have)
3 cups organic whole wheat flour
1 teaspoon cinnamon
1/2 teaspoon salt
2 teaspoons yeast
1 cup dried cranberries (whole foods has some that are sweetened with apple juice instead of sugar- I recommend those!)
1/2 cup chopped walnuts

Directions:
Add ingredients to bread machine in the order that your bread machine recommends (mine says wet ingredients then dry)

Some people say to add fruit and nuts during the last knead cycle, but honestly I just threw them in there with everything else at the beginning and it worked just fine!

Let your bread machine do its thang! (I used the basic 1- 1 1/2 lb loaf size bread setting with a light crust)

Devour! 

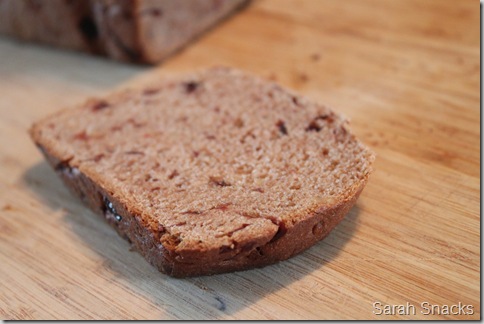
IMG_3792 IMG_3797


IMG_3798

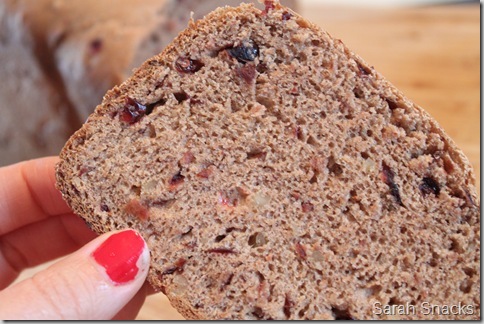
Look at those cranberries and walnuts!!!  (note to self: time to repaint nails!)

IMG_3800

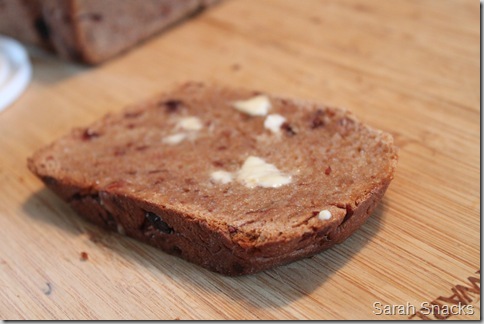
With a little Earth Balance.

IMG_3801


EPIC.

DCFB33FA1087C7ABE7ECAC74BDFF501E

My Go-To Sandwich Bread

Morning!

I used to spend about $5 a loaf for a good organic whole wheat sammy bread!  (none of the stuff from the bread isle in the grocery store- it’s FULL of preservatives!  And some of those preservatives come from animals bones…ewwwww!!!!)  My bread machine has more than paid for itself already in the few weeks that I’ve had it (I got it on amazon for $79, but I’ve heard people say they’ve found awesome ones at the Goodwill for just a few dollars.)

This is my go-to bread for sandwiches.  I make a loaf at least 1-2 times per week!  This recipe is for a bread machine, but if you want to knead it out by hand and totally show me up you should go for it!!  (I was born with the inability to knead bread.  I’m totally not joking, I seriously can’t do it!  Enter the bread machine- the new love of my life.  Sorry hubby Winking smile)

Sarah Snacks Go-To Sammy Bread
(Print this recipe!)

Ingredients:
1 cup warm water (110 F)
2 Tablespoons organic sugar
2 teaspoons yeast
2 Tablespoons canola oil
2-3 Tablespoons agave nectar (optional, but tasty if you want a honey-wheat type bread)
1 1/2 cups organic whole wheat flour (I like King Arthur)
1 1/2 cup organic bread flour (again, King Arthur)
1 teaspoon wheat gluten
1 teaspoon salt

Directions:

Into the bread machine goes the warm water, sugar, and yeast.  Let proof for 10 minutes (you can just add it in with the flours if you want, but I really think you get a better rise on the bread if you proof the yeast first- especially since it’s mostly 100% whole wheat!)

Once the yeast is proofed, add in the rest of the ingredients according to your bread machines instructions- mine says to do wet ingredients first, then dry.

I set my machine to sandwich bread with a light crust.  And this will be a 1 to 1 1/2 lb loaf.

Let the bread machine do its thang.

(trick to slicing a loaf of sandwich bread… let it cool COMPLETELY before slicing.  I know it’s hard to wait, but you’ll get more even slices and they won’t fall apart as you slice!  Also make sure to use a bread knife!)


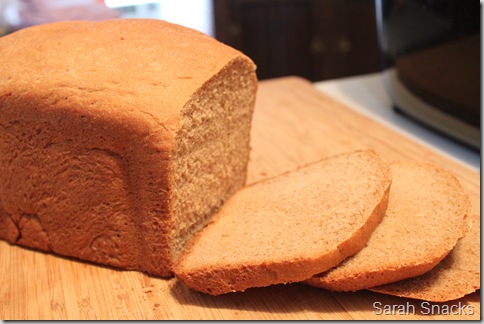
Ta Da!!!!

IMG_3746

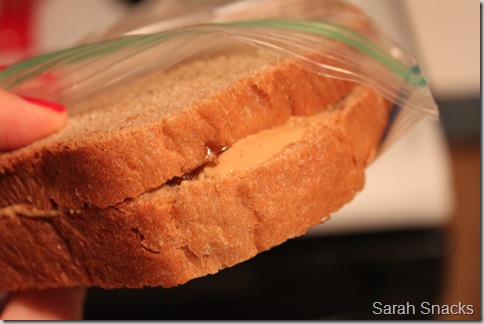
Perfect for a good old fashioned PBJ!!!

IMG_3756


Enjoy!

DCFB33FA1087C7ABE7ECAC74BDFF501E