Anyone in the girl scouts when they were little? I had a short stint myself, but I honestly always wanted to be in the boy scouts with my brothers- they did much more fun stuff like camping, tying knots, and general roughhousing. The only problem with that was that I was a girl so they wouldn’t let me in. With exception to the whole I don’t like to get dirty thing I’m totally a tom boy in my heart.
Ah well, if I couldn’t be in boy scouts at least I still retain some of those lessons over all these years that my brothers learned- how to pitch a tent, how to properly handle a knife, tying a pretty mean knot, and of course the biggest one… be prepared!
This is a great motto to use in different aspects of your life. In finances, school, etc…
But for now let’s stick with being prepared in an area that I’m a self-proclaimed expert: FOOD! We’ve already discussed meal planning and why it’s important- check out that post if you haven’t already read it.
Do you prep your food for the week? You should! Especially weeks when you have a lot going on- this makes it super easy to get a quick, healthy meal on the table without a lot of effort. On our trip last week Laura, Michelle, and I were talking about prepping your food for the week, and we were also giving Michelle some time-saving tips for eating healthy without a lot of time for cooking since she’s starting back to grad school in the next few weeks. Check out Laura and Michelle’s blogs as well because I’m sure they will also be posting some tips!
There are a few different ways that you can prep your meals for the week, depending on how busy you are or how much you want to do ahead of time.
Have a slam packed week ahead where you will barely have time to grab something for dinner? Why not make your meals ahead of time?
- Casseroles and enchiladas are GREAT for this! Try my Eggplant Lasagna Bake, Mexican Quinoa Casserole, Super Easy Mexican Casserole, Popeye’s Pasta Bake, or my Spicy Lentil Enchiladas! You can completely cook them ahead of time and freeze or refrigerate them, or you can just assemble them and pop them in the fridge until you’re ready to cook them- then just place them in the oven and bake!
- Soups are also amazing make-ahead meals! Try my Spicy Black Bean Soup, Grilled Ratatouille Soup, or Easy Vegetarian Chili. They all keep really well in the fridge and freezer and you can even pre-portion them out for an easy grab and go lunch or dinner!
Don’t want(or need) to make your meals ahead of time? No problem- why don’t you simply pre-chop your veggies for your meals for the week? It will save you time when you’re preparing your meals throughout the week because you can just grab your pre-chopped veggies out of the fridge and use them immediately in your recipes! A little more pressed for time? Why not pre-sauté your veggies? This is a great time-saver and make it so easy to quickly throw a meal or recipe together.
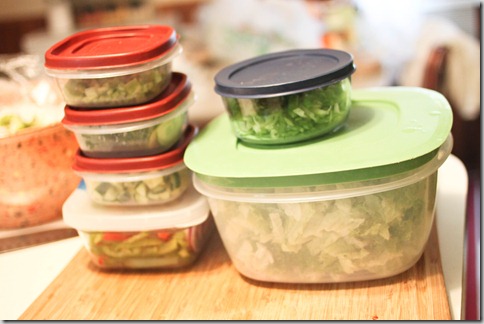
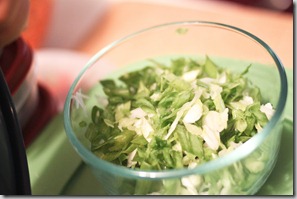
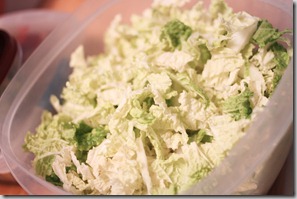
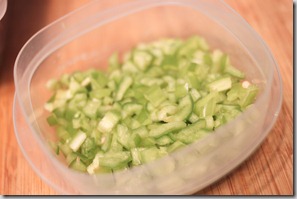
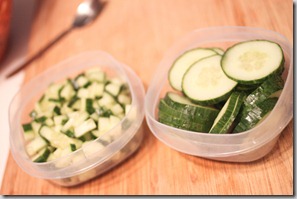
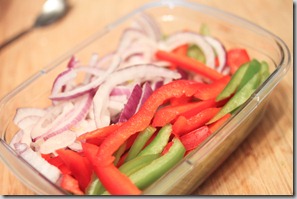
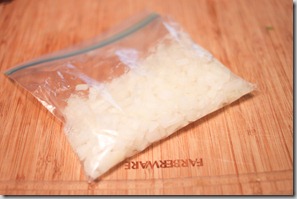
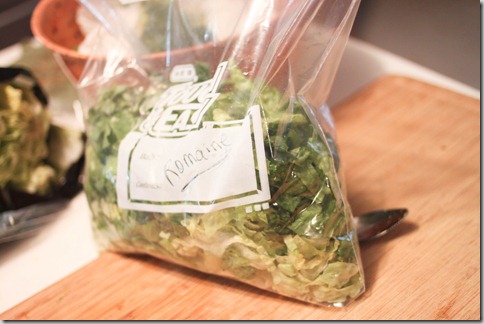
Here are some of my pre-chopped veggies for the week! I’ll usually throw them in a zip lock or some Tupperware and just grab them whenever I need them! I also always do extra veggies for quick healthy snacking!
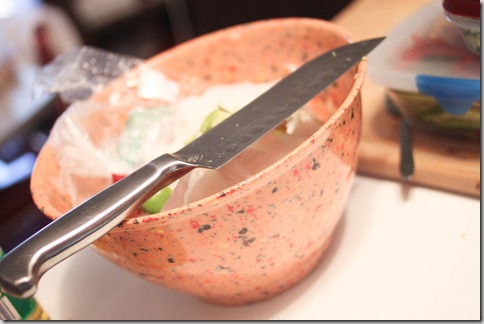
P.S. my biggest tip for pre-chopping your veggies is to have a designated garbage bowl! (thanks Rachael Ray- I totally owe you for this one!!). This is much easier than going back and forth to the trash can with all your scraps. Or if you compost, you can just throw it right into your compost bin from your garbage bowl!
Let’s talk about convenience/pre-packaged veggies.
There’s nothing wrong with it if you can afford it and don’t have enough time or patience to chop your veggies I say go for it! I am a student and on a tight budget so I usually chop my own myself. However, there are a few things I make an exception for!
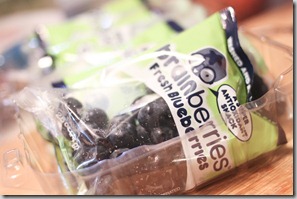
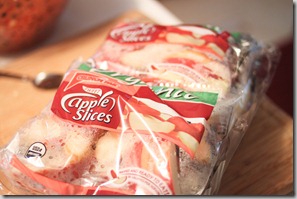
These pre-packaged blueberries and apple slices make my life SO much easier! So easy to grab and go for a snack or for our lunch boxes. And I get them at Costco, which really does make them quite affordable. They are both somewhere around $6 I think. Totally worth it for me!
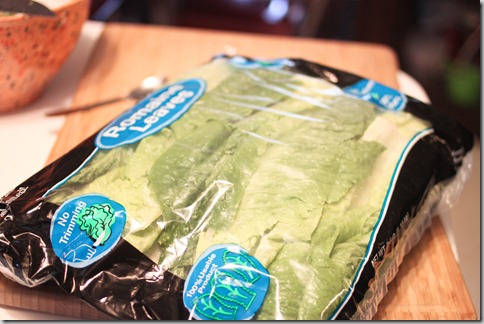
Another great Costco find for me is this pre-washed and trimmed Romaine lettuce. It was around $3 and I think there are 3-4 heads of Romaine in there. I usually take out a couple of heads and chop them for salads for the week, and seal the rest up for use on sandwiches and burgers. The bag usually lasts me 2 weeks. This is less expensive than the pre-bagged salad mix and oh so convenient for me!
Whew! What a monster of a post! I had so much fun writing this though- I’ll definitely be writing more of them in the future! Hope you have an amazing day!


