Pancake for One

I’m skipping WIAW this week because my food has been so insanely boring lately.  Instead how about a recipe?

Most of the time I don’t mind making a whole batch of pancakes.  But sometimes I just want one fresh fluffy pancake.  So this recipe is for those times.

Pancake for One
(Print this recipe!)

Ingredients:
1/4 cup whole wheat pastry flour
1/2 teaspoon baking powder
pinch of salt
1/4 cup nondairy milk

Directions:
Mix all dry ingredients.

Stir in your nondairy milk until it is just combined (lumps are okay!).

Let batter rest for 2-3 minutes.

Heat a nonstick skillet to medium heat and pour the batter in the pan.

When batter starts to bubble flip your pancake and cook until golden brown on both sides.


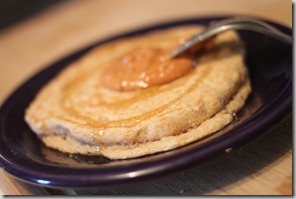
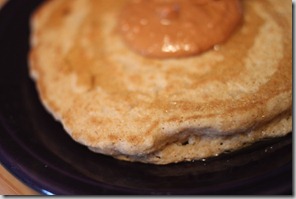
I normally top my pancakes with fresh fruit, but I am all out right now so I topped mine this morning with a big spoonful of peanut butter and a drizzle of agave nectar.  So good!


IMG_4968IMG_4970

Whole Wheat Oat Bread

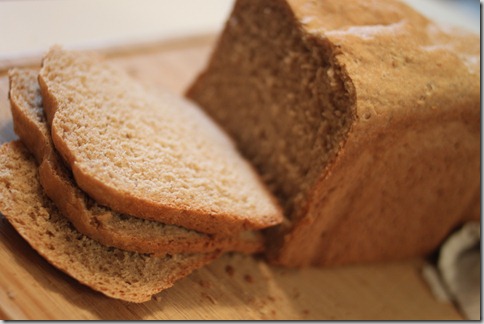
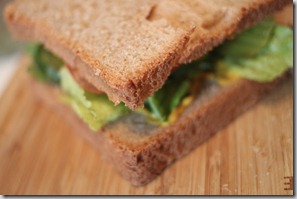
This recipe is just a rif on my go to sandwich bread recipe.  I like how there is just enough oats in it to give it an oaty taste.  This bread makes amazing sandwiches, or it’s just good for eating plain or with a little butter and jam too!

Sarah Snacks Go-To Sammy Bread
(Print this recipe!)

Ingredients:
1 1/4 cup warm water (110 F)
2 Tablespoons organic sugar
2 teaspoons yeast
2 Tablespoons canola oil 
1 1/2 cups organic whole wheat flour (I like King Arthur) 
1 1/2 cup organic bread flour (again, King Arthur) 
1/2 cup rolled oats 
1 teaspoon wheat gluten
1 teaspoon salt

Directions:

Into the bread machine goes the warm water, sugar, and yeast.  Let proof for 10 minutes (you can just add it in with the flours if you want, but I really think you get a better rise on the bread if you proof the yeast first- especially since it’s mostly 100% whole wheat!)

Once the yeast is proofed, add in the rest of the ingredients according to your bread machines instructions- mine says to do wet ingredients first, then dry.

I set my machine to sandwich bread with a light crust.  And this will be a 1 to 1 1/2 lb loaf.

Let the bread machine do its thang.

(trick to slicing a loaf of sandwich bread… let it cool COMPLETELY before slicing.  I know it’s hard to wait, but you’ll get more even slices and they won’t fall apart as you slice!  Also make sure to use a bread knife!)


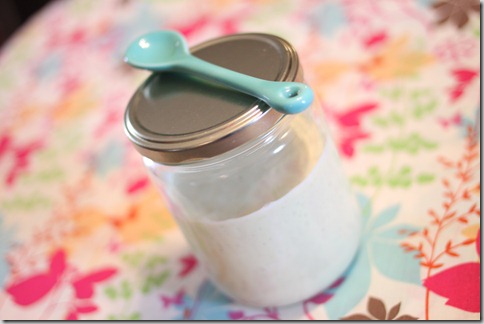
IMG_4945

IMG_4947IMG_4946


Have a great day!!

dcfb33fa1087c7abe7ecac74bdff501e5

Buffalo Baked Tofu Wraps

It’s no secret that I love anything spicy or covered in hot sauce.  I have freely admit that many many times here.  I especially love the buffalo sauce flavor.  Even when I ate chicken I really only ever got buffalo wings for the sauce.  No lie.

So when I got this bottle of Buffalo Marinade in the mail from Foodbuzz as part of the tastemaker program I knew exactly what I wanted to do with it!

IMG_4866

The marinade was great, but if you can’t find this specific brand, honestly you can use any brand or even make your own buffalo sauce to marinate in.  I’ve tried the Franks Red Hot brand of buffalo sauce and it’s fantastic as well!  And you’re especially lucky today because you’re also getting a ranch dressing recipe!

Buffalo Baked Tofu Wraps with Ranch Dressing (makes 4 wraps)
(Print this recipe!)

Ingredients:
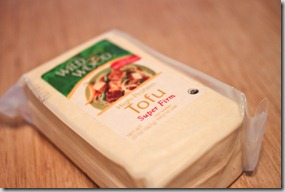
1 package of extra firm tofu, pressed (I like the kind that comes already pressed- the Wildwood Organic is my fave)
1 bottle of your favorite buffalo sauce (you’ll only use about half of the bottle)
4 Whole wheat wraps of your choice
lettuce
ranch dressing (recipe follows)

Directions:
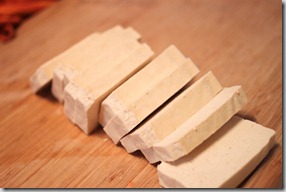
Slice your tofu into 8-10 slices (depending on how big your block of tofu is)

IMG_4863IMG_4865

Place sliced tofu into a ziplock bag or Tupperware container and pour half the bottle of marinade in.

Let the tofu hang out for at least 30 minutes in the refrigerator.

Preheat oven to 350 degrees and spritz a baking sheet with nonstick spray.

Take tofu out of the marinade and shake off the excess marinade before placing each slice in the pan.

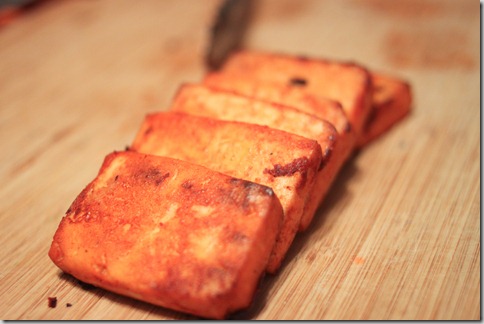
Place into oven and bake for 7-10 minutes on each side.

IMG_4868

Slice or cube each plank of tofu so that it will fit better into your wrap.

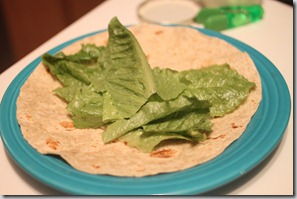
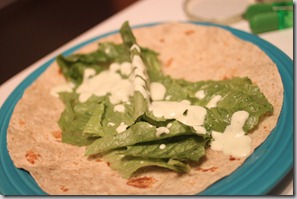
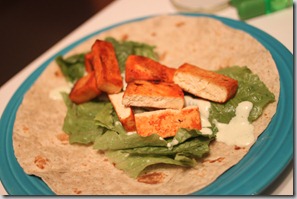
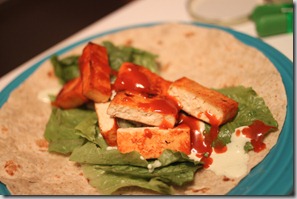
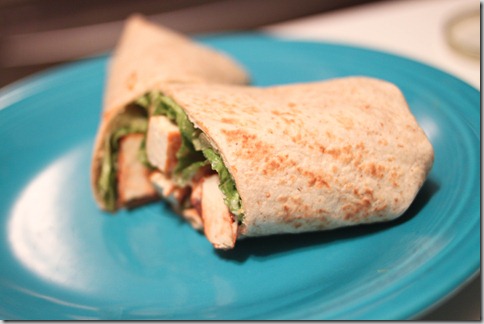
To assemble your wraps, take your tortilla and top with lettuce, a drizzle of ranch dressing, your tofu slices or cubes, and top it off with a drizzle of the leftover buffalo sauce marinade (it’s okay- it’s not meat so you don’t have to worry about food poisoning from this. In fact, you can keep the leftover marinade in the fridge and reuse it!)

IMG_4869IMG_4870IMG_4871IMG_4872


Wrap and roll!!!

IMG_4876


And here’s the ranch dressing recipe for your wraps! (you can use bottled if you want, but I promise this is WAY better!)

Ranch Dressing
(Print this recipe!)

Ingredients:
1 cup low-fat Vegenaise (or you can use yogurt)
1/3 cup non-dairy milk
1/2 teaspoon garlic powder
1/2 teaspoon onion powder
big pinch of salt, to taste
big squeeze of lemon juice (about 1 Tablespoon)
1 teaspoon chopped fresh dill
1 teaspoon chopped fresh parsley

Directions:

Place all ingredients in blender and blend until smooth.

If you want your dressing a little thinner, add a little more non-dairy milk.  If you want it a little thicker, add a little more vegenaise.

IMG_4824


I hope you enjoy this as much as I did!  And P.S. the leftover buffalo tofu makes a wicked salad- just toss on top of your fav salad with a few spoonful’s each of the ranch and the buffalo sauce!  NOM!

dcfb33fa1087c7abe7ecac74bdff501e5

Meatless Monday: Tempeh Sloppy Joes


image


Sometimes it’s fun to get sloppy and a little messy when you eat- and these sandwiches definitely fit the bill!  If you aren’t sure what tempeh (pronounced tem-pay) is, check out this post. I’ve seen people crumble up tempeh and use it in tacos and sloppy joes so I thought I would give it a try. Don’t forget you’ll need to steam the tempeh a bit before you crumble it up(see the same post if you want to know why)!

These tempeh sloppy joes are amazing- tempeh is the perfect texture for crumbling up and using in this type of recipe.  If you don’t like tempeh you could just use portabella mushrooms instead.  I really think the meaty-ness of the tempeh fits perfectly with the sauce.  This recipe is perfect for a casual Meatless Monday dinner!

Oh and by the by, any time I make (or think of) sloppy joes I can’t help but sing that Adam Sandler song. (Sloppy joe, slop sloppy joe)

Let’s get sloppy, shall we?

Tempeh Sloppy Joes
makes 6-8 sandwiches
(print this recipe)

Ingredients:
1 package tempeh
1 small onion, chopped
1 bell pepper, chopped
1 cup chopped mushrooms (I like cremini mushrooms)
2 cloves garlic, minced
3 tablespoons tomato paste
1 tablespoon brown sugar
1 tablespoon red wine vinegar
2 tablespoons vegetarian worcestershire sauce
1 15 oz can tomato sauce
Salt and pepper
Whole wheat burger buns


Directions:
Steam tempeh for about 10 mins- I do it on the stove in a steamer basket.  Let tempeh cool before crumbling.

Over medium-high heat, sauté onion and bell pepper together in a little cooking spray until tender (veggie broth works nicely for sautéing veggies too).

Crumble in the tempeh (it should crumble easily) and add the mushrooms and garlic.  Cook until the mushrooms are tender, stirring occasionally.

Stir in the tomato paste, brown sugar, red wine vinegar, worcestershire sauce, and tomato sauce.  Simmer until sauce is thick.

Season with salt and pepper, to taste.

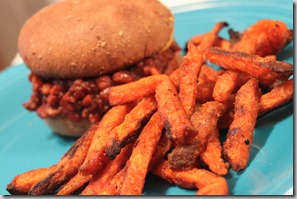
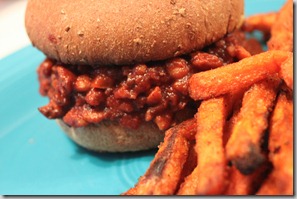
Spoon the mixture onto your burger buns and top with your favorite garnish- I love pickles on sloppy joes!  I also like to serve these with sweet potato fries.


mmmmmm…….

IMG_4493IMG_4494


Hope you had a great Meatless Monday!!

dcfb33fa1087c7abe7ecac74bdff501e5

Meatless Monday: Quinoa Stuffed Hatch Chiles

Happy Meatless Monday friends!  After you read this head over to Liz’s blog to see my first ever guest post!  Oddly enough that recipe also feature’s quinoa- and I didn’t even plan it that way!

So if you know me, then you know that I’m completely obsessed with not only extremely spicy things, but also with Hatch Chiles!    See last year’s Hatch Chile post if you want the deets on this amazing pepper (or if you want to make the awesome Hatch Chile Rellenos that I made last year- trust me, you do!)

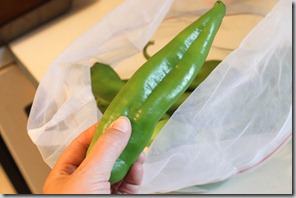
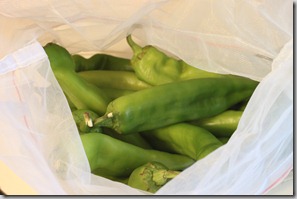
It’s not quiiiiite time for the Hatch Fest at Central Market yet, but they have already put their chilies out so I grabbed some!  I’ll be out of town during the Hatch Fest this year so this may be all I get!  Sadface.

I’ve been contemplating for months what my first Hatch recipe was going to be this year, and after seeing the Vegan Zombie make stuffed poblanos I knew I had to make Stuffed Hatch Chiles!  This recipe is inspired by that episode of The Vegan Zombie!  Stay tuned for more Hatch recipes over the next few weeks- I’ve already got a Hatch Sourdough in mind, and who knows what else my crazy brain will come up with!

IMG_4394IMG_4391


Without further ado, I give you…

Quinoa Stuffed Hatch Chiles
(Print this recipe!)

Ingredients:
6 large Hatch Chiles (you can use poblanos if you can’t get the Hatch)
15 oz can of black beans, drained and rinsed
1 onion, chopped
1 bell pepper, chopped
2 cloves garlic, minced
1/2 cup uncooked quinoa (+ 1 cup water for cooking the quinoa)
1 teaspoon chili powder
1 teaspoon smoked paprika
1/2 teaspoon chipotle powder(optional, but if you want a little extra spiciness you should add this!)
1/2 cup pepperjack cheese (I like Daiya!)
salt and pepper, to taste

Directions:
Preheat oven to 350 F and spritz a baking pan with cooking spray.

Rinse your quinoa and cook it- I use a 2:1 water to quinoa ratio and cook it in my rice cooker, but you can cook it on the stove too! 

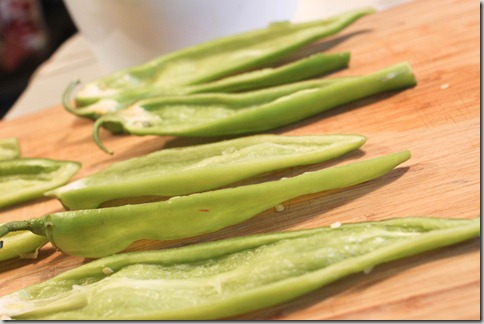
While quinoa is cooking, slice your peppers in half lengthwise and scrape the seeds out (tip: I use a grapefruit spoon to scoop the seeds out so I don’t have to worry about touching them with my fingers!)

IMG_4397

Sauté onion and bell pepper over medium heat until tender. 

Add garlic and continue to cook until fragrant.

In a large bowl, stir together the sautéed veggies, beans, quinoa, spices, and cheese.

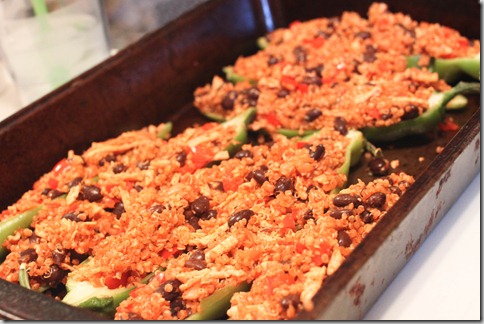
Scoop the mixture into your peppers- don’t be afraid to get your hands in there and really mound up the filling in those peppers!

IMG_4400

Pop the stuffed chiles in the oven for around 20 minutes, or until the peppers are soft. (start watching them when you get to the 15 minute mark- you don’t want them to burn!)

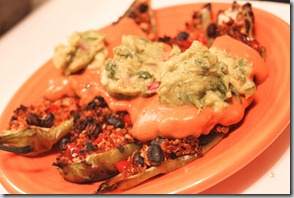
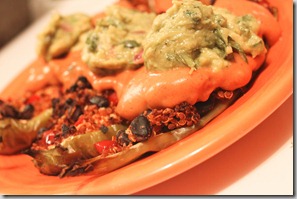
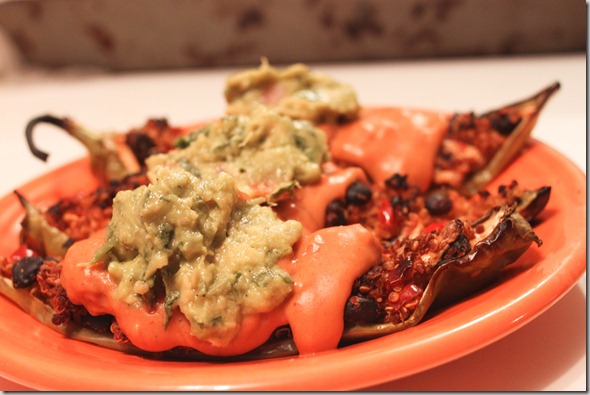
If you’re awesome like me, you’ll top your stuffed peppers with some vegan queso and a big scoop of guac!

IMG_4415IMG_4416IMG_4419


mmmmmmmm……


dcfb33fa1087c7abe7ecac74bdff501e5