New toy + an extremely addictive hummus wrap

First thing’s first… I got a fun new toy!!!

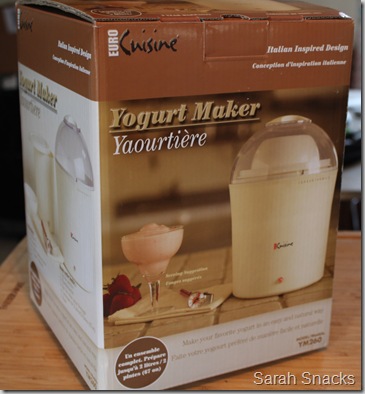
My department at work won a contest and we each got a $100 visa gift card!  I had been looking at a yogurt maker so I decided to go ahead and get one!  I got it from www.CHEFScatalog.com

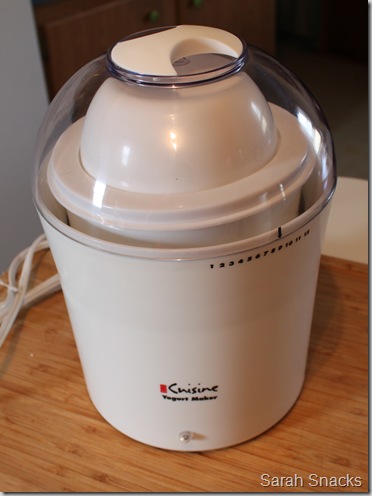
TADA!!!


IMG_2730


I got it all washed up and ready to go for my first batch!


IMG_2741


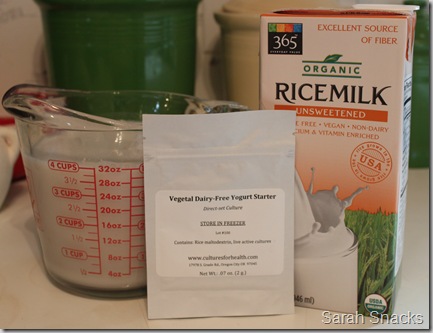
I decided to try rice milk for my first batch.  So I had a quart of rice milk, a tablespoon of organic sugar (the rice milk was unsweetened so I added a little sugar so that the bacteria would have some food), and some non-dairy yogurt starter (I ordered it from www.culturesforhealth.com).

IMG_2751


So I heated the rice milk + sugar to 110 degrees, then mixed in 1/4 tsp of the starter.

Then I poured it into the yogurt maker and turned it on.

Now I wait for 6-8 hours!  I’ll let you know tomorrow how it turned out!


Now onto that addicting wrap!

Oh.  Em.  Gee.

This is maybe more addicting than heroine.

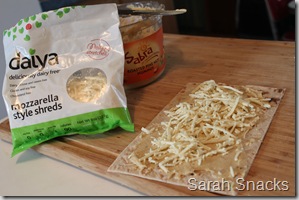
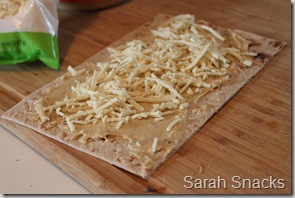
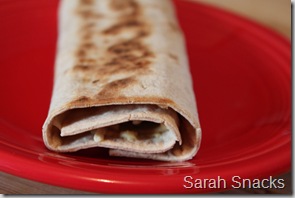
And it’s so simple!  I just took a Lavash wrap (found it at Whole Foods) and spread some hummus on it.  Then I sprinkled on some Daiya Mozzarella. 

IMG_2731IMG_2732


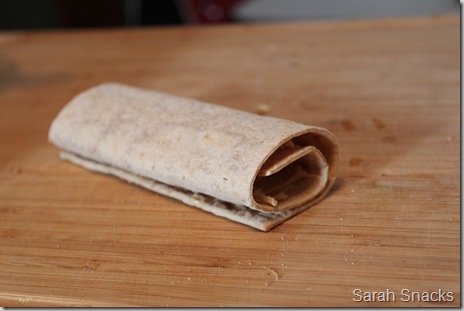
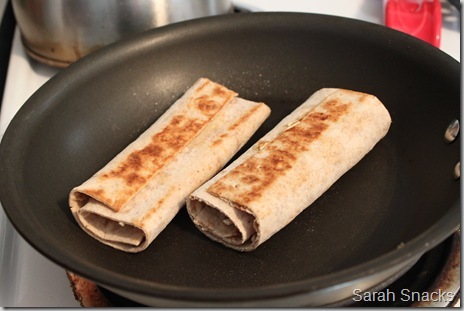
Rolled it up and threw it in the skillet until both sides are crispy and brown.

IMG_2734


IMG_2737

IMG_2743IMG_2745


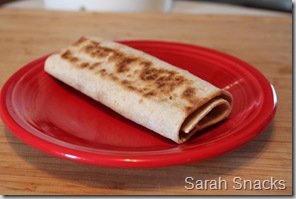
WOWIE!  Great for a snack or for lunch paired up with a salad.

Try this ASAP!


Happy Snacking!

DCFB33FA1087C7ABE7ECAC74BDFF501E


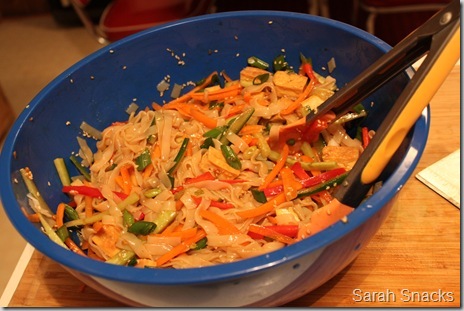
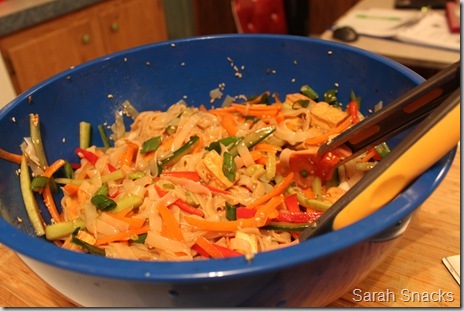
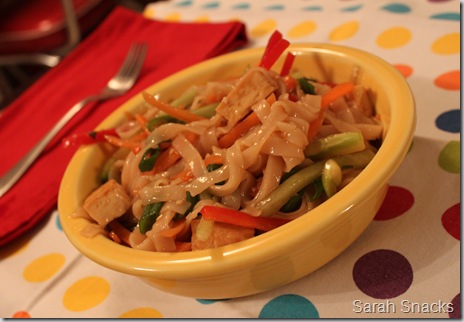
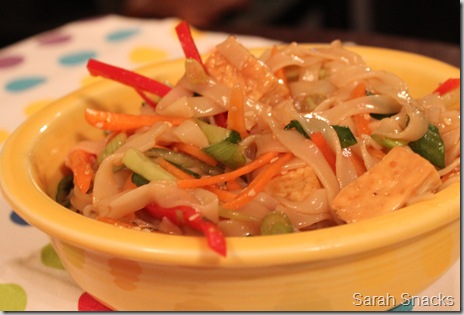
Tofu Sesame Noodle Salad

This is great for a main meal salad or a side dish.  I expect I’ll be making this a lot this summer because I loooooove a nice cold salad when it’s hot outside!  The original recipe is from Whole Foods- I’ve only modified it slightly.


Tofu Sesame Noodle Salad

Ingredients:
1/4 cup tamari soy sauce
2 tablespoons toasted sesame seeds
1 tablespoon agave nectar
3 cloves minced garlic
2 teaspoons chili oil (I make my own by simmering  a couple of teaspoons cracked red chilis in about a cup of canola oil for a few minutes then straining the chilis out)
1/2 pound dried rice noodles
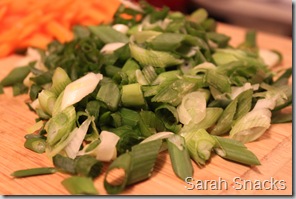
1 cup thinly sliced green onions
2 small carrots, thinly sliced
1/2 English cucumber, halved lengthwise and thinly sliced
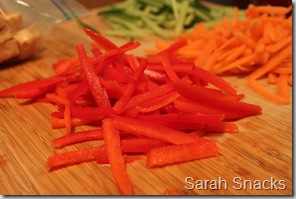
1 red bell pepper, thinly sliced
6 ounces baked tofu, cut into 1-inch cubes (I hear you can buy it already baked but I’ve never been able to find it, so I cube it and bake it myself before I use it)


Directions:
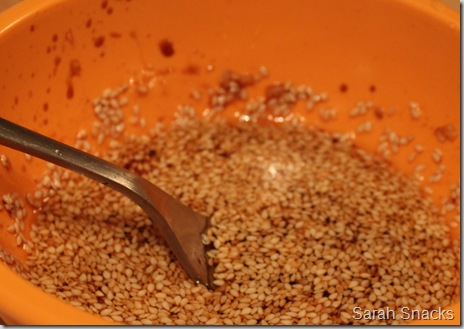
In a large bowl, whisk together tamari, sesame seeds, agave nectar, garlic and oil to make a dressing; set aside.

IMG_2701


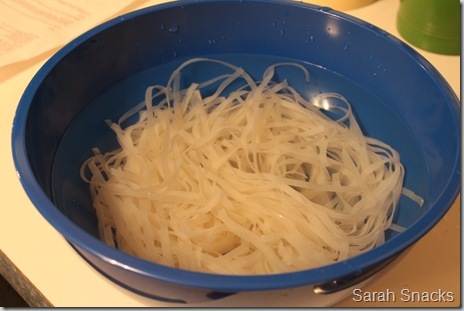
Meanwhile, soak noodles in a large bowl of cold water until pliable, about 15 minutes; drain well.

IMG_2697


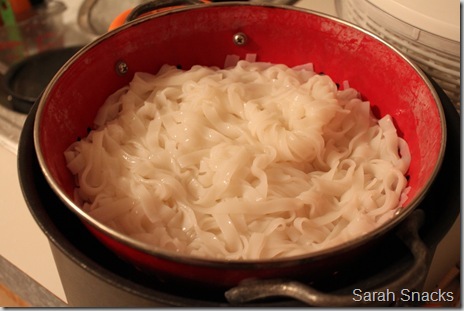
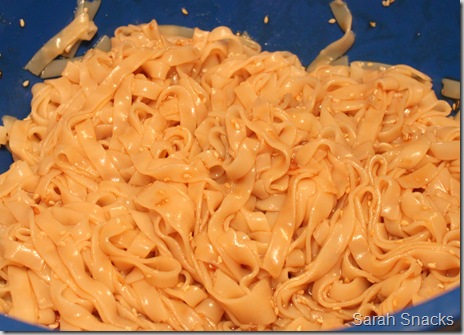
Add noodles to boiling water and cook, stirring occasionally, until just tender, about 5 minutes. Drain and rinse thoroughly in cold water.

IMG_2702


Transfer to bowl with reserved dressing; toss well.

IMG_2713


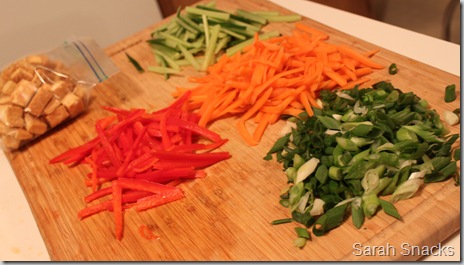
Add green onions, carrots, cucumbers, peppers and tofu.

IMG_2706IMG_2708IMG_2711


Toss gently to combine.

IMG_2714

IMG_2715

Serve it up with some cilantro to garnish (I totally forgot that I had cilantro on hand- oops!)

IMG_2720

IMG_2723


This gets even better the next day after it’s had some time to hang out in the fridge!  YUM!

Happy snacking!
 

DCFB33FA1087C7ABE7ECAC74BDFF501E


Kale? Chips?

Both!!

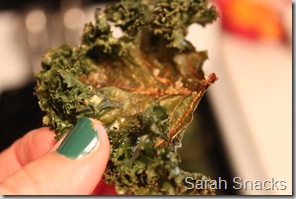
ZOMG these are amazing!  I ate the whole pan in one sitting.  No joke.  It sounds weird, but trust me as soon as you taste these you’ll be hooked!
Kale is an amazing thing.  It’s full of antioxidants, vitamin K, vitamin C, and is rich in calcium.  It’s also related to cabbage!

Here’s how I made mine…

Kale Chips

Ingredients:
1 bunch of kale
olive oil (or cooking spray)
sea salt
nutritional yeast

Directions:

Preheat oven to 325 F.

De-stem your kale and tear it into big pieces.

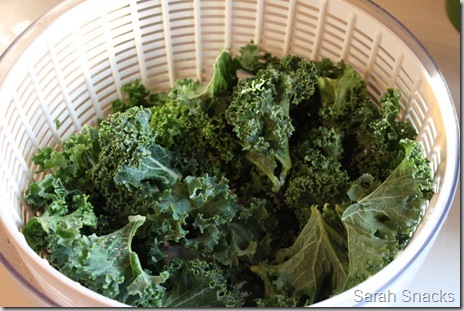
Wash it and send it through your salad spinner- make sure it’s really really dry!

IMG_2677


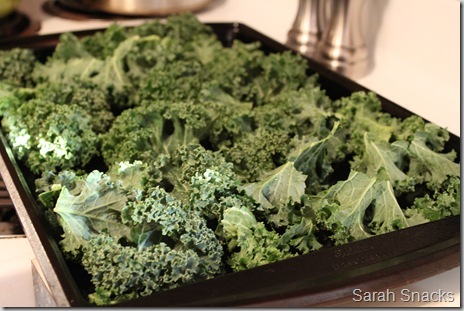
Place kale on a pan spritzed with cooking spray.

IMG_2679


Drizzle with a couple of teaspoons of olive oil (or spritz with a little more cooking spray).  Sprinkle on some sea salt and nutritional yeast.

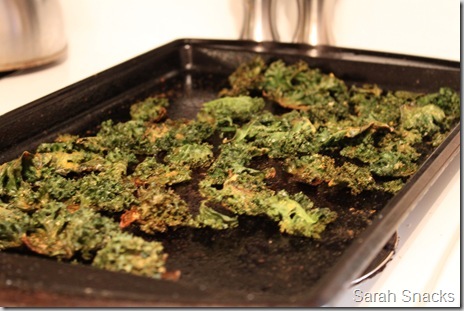
Bake in oven for 15-20 ish minutes until they get brown and crispy(keep your eye on them!).

IMG_2687


IMG_2689IMG_2690


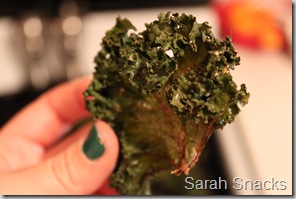
Crispy like a chip.  But so much better for you!

These are great dipped in a little ketchup (seriously!) or doused with frank’s red hot!

Hope you love these as much as I do.

Happy snacking!!


DCFB33FA1087C7ABE7ECAC74BDFF501E


Make your own almond butter!

First of all, I’m in the library at school and the campus is on lock down.  I’m kind of freaking out.  There was a shooting threat, so they locked us down.  So instead of studying like I’m supposed to be doing, I’m blogging.  I totally can’t concentrate on A&P right now.

On to happier things…

Like almond butter…

I love almond butter, but I don’t love paying $10 a jar for the good stuff.  Especially when I can make it at home for a fraction of the cost!

So I buy the big bags of almonds at Costco and just make my own!  It’s so simple you won’t believe you haven’t been doing it all along!  It’s a teeny bit more work that peanut butter, but not much.  And it’s totally worth it!
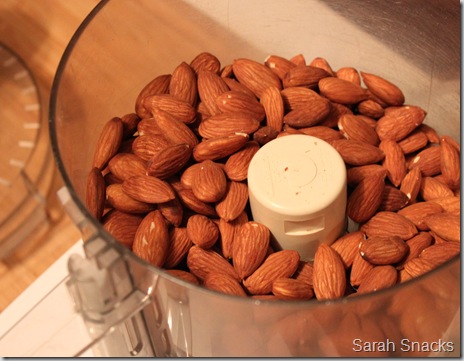
So here’s what you need…

About 2 cups of almonds (make sure they’re not salted)
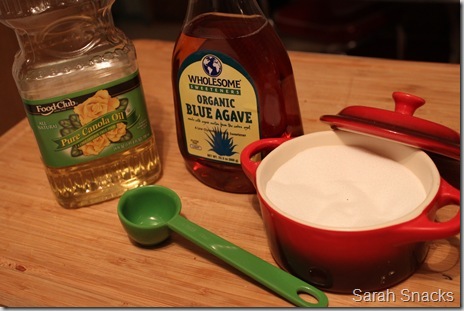
canola oil (about 1/2 tablespoon- you can omit this but you won’t get quite the smooth consistency if you do)
pinch of salt
agave nectar or maple syrup (to taste.  also optional.)

And here’s what you do…

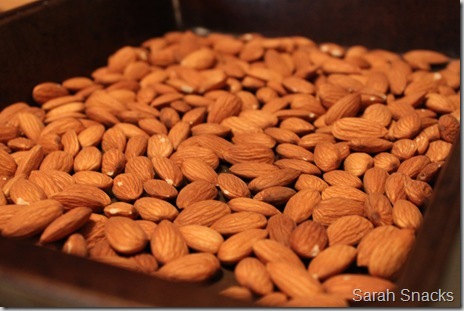
Put your almonds on an ungreased baking sheet.

IMG_2598

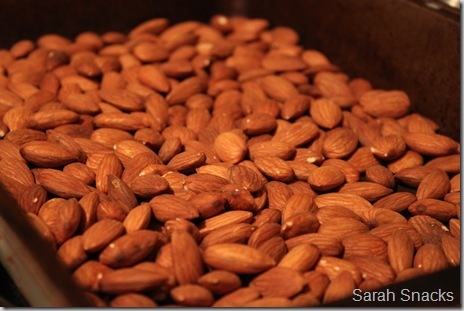
Roast in a 300 F oven for about 25 mins, stirring occasionally. (skip this step if you have almonds that are already roasted)

IMG_2602

Into the food processor they go!

IMG_2603

Here’s how the next few steps go.  This will take around 10 ish minutes, depending on how powerful your food processor is…

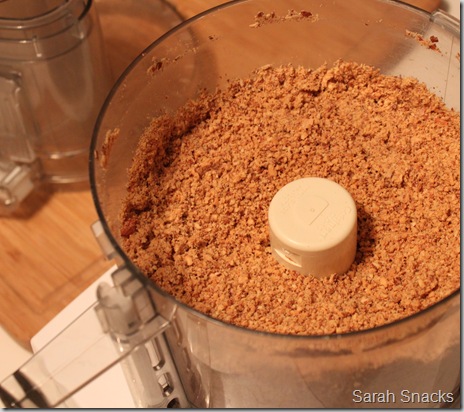
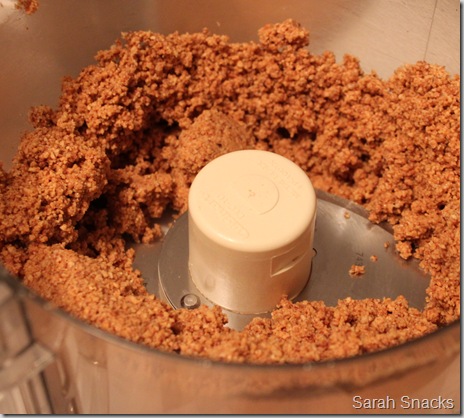
First they will grind to a crumbly consistency.  Keep going!
IMG_2605

Then they will start coming together a bit.  Keep going!
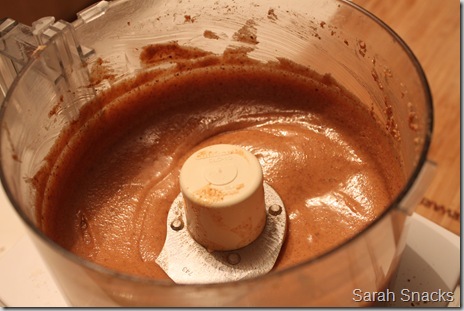
IMG_2606

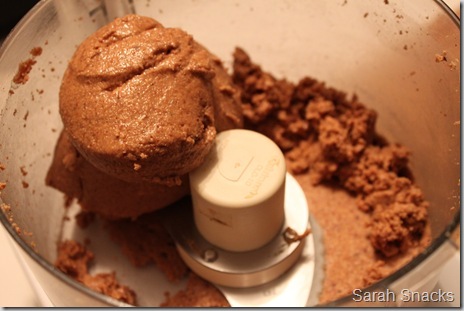
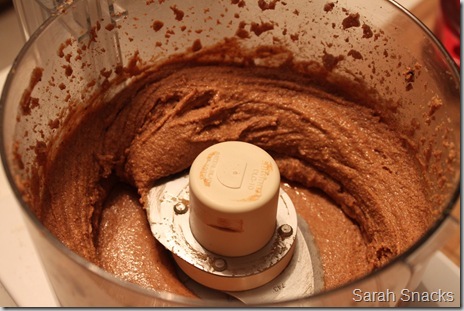
Then it will clump together in a big ball.  Keep going!

IMG_2609

Then it will start coming together and looking like almond butter.  Don’t be fooled- it’s not ready yet!  Keep going!

IMG_2610

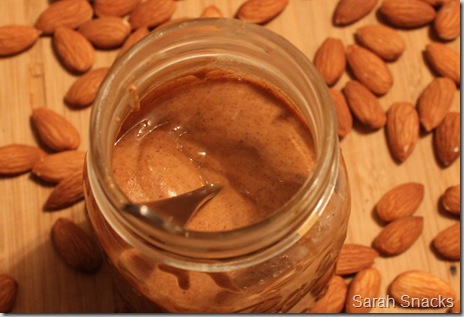
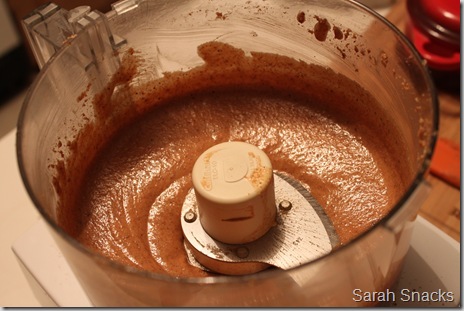
Keep going till it’s a nice smooth creamy consistency, like this.

IMG_2614

Then add in your 1/2 tablespoon of canola oil, a few pinches of salt, and a drizzle of agave nectar, to taste. 

IMG_2616

Give it a few more seconds and you’re done!

IMG_2618

Store in a jar with a lid and you’re good to go!  When I first started making my own nut butters I stored them in the fridge because I was afraid they would go bad.  Not necessary- we go through a jar in about a week, they don’t have time to go bad around here!  But if you don’t eat much nut butter then you may want to think about stashing it in the fridge.


IMG_2626


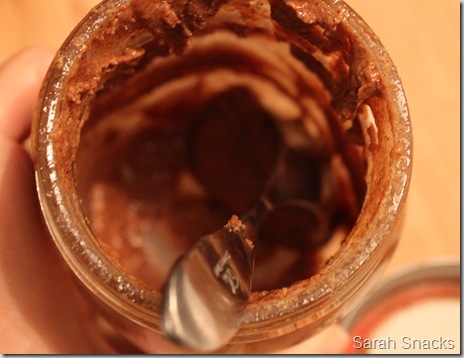
Oh, and you want to know what an almost empty jar of almond butter is best for?

IMG_2629

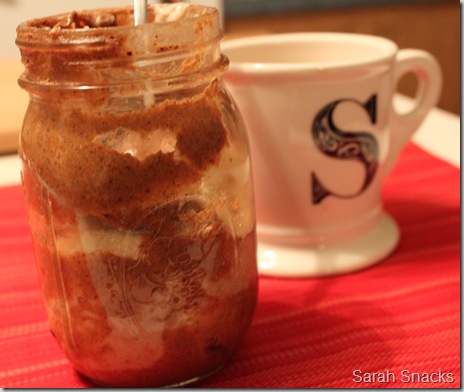
To eat your oatmeal out of!

Just pour in the nice hot oats, top with your fav toppings, and the almond butter on the sides and in the little nooks and crannies of the jar just melts into the oats!  Mmmmmm!

That was what was for breakfast this morning!

IMG_2641


Hope you are inspired to start making your own nut butters!

Happy snacking!!

DCFB33FA1087C7ABE7ECAC74BDFF501E


P.S.  Update on the lock down… after about an hour and a half, they just lifted it.  I have another class this afternoon, but I’m in no mood for that- I’m going home!!


Biscuits and gravy

This is not a healthy recipe.  This is for when you’re craving old school biscuits and gravy like you had when you were a kid, but you’d like to make an animal friendly version.  I love a good Sunday brunch, and this recipe definitely hits the spot!  So here goes- enjoy!

Biscuits

Ingredients:
1 cup AP flour
1 cup whole wheat pastry flour
5 tsp baking powder
1/2 tsp salt
3 Tbsp Earth Balance
3 Tbsp Earth Balance Shortening 
2/3 cup unsweetened almond milk

Directions:

Preheat oven to 450 F.

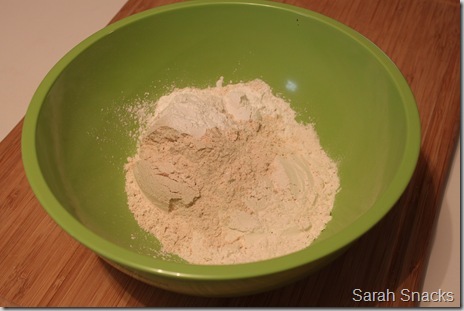
In a large bowl mix together flours, baking powder, and salt.

IMG_2546

Cut in the shortening and earth balance until it’s crumbly.  You can use a fork or a pastry cutter, but it works best if you just use your fingers!

IMG_2547

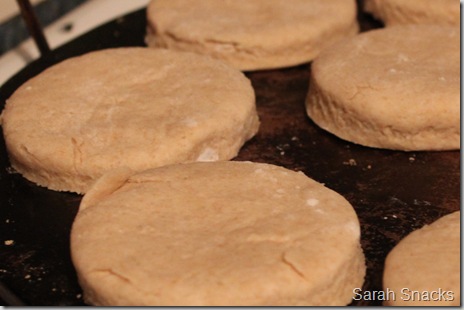
Sir in the milk.  Turn out onto a lightly floured surface and roll out to about 1/2 inch thickness.  Using a biscuit cutter or a glass cut dough into circles and place on an ungreased baking sheet.  Depending on how big you cut them, you should get somewhere around 10 biscuits.

IMG_2557

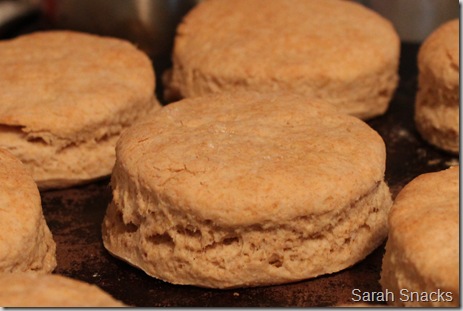
Bake in your 450 F oven for 15 minutes or until nice and brown on top.

IMG_2562

Serve with your favorite jam/preserves or top with a nice country gravy!


Country Gravy

Ingredients:
3 Tablespoons Earth Balance shortening
3 Tablespoons AP flour
2 1/2 cup unsweetened almond milk
1/2 cup coconut milk creamer (or soy creamer)
salt and pepper to taste

Directions:
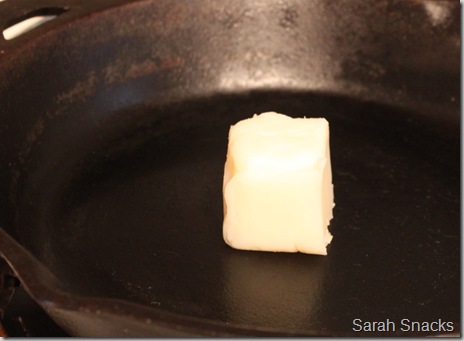
Melt in your shortening in a skillet over medium heat.

IMG_2559

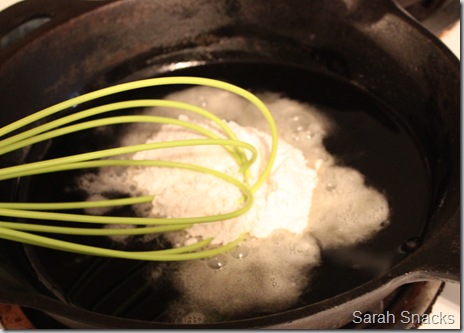
Whisk in the flour and let mixture simmer for a couple of minutes.

IMG_2561

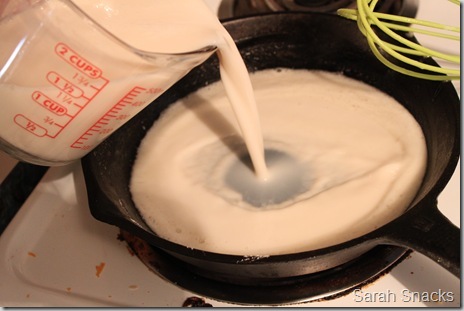
Whisk in the almond milk and creamer.

IMG_2564

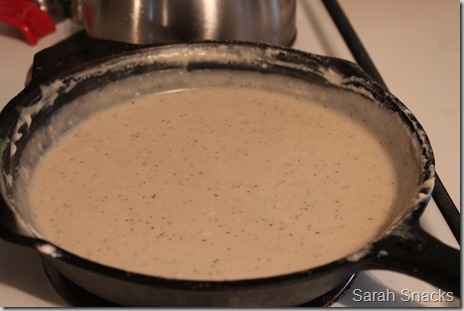
Turn up the heat a little (medium high) and let it bubble until it is nice and thick and gravy like.  You have to babysit it a little, whisking it occasionally. 

IMG_2566

Add salt and pepper to your liking.  I love mine with lots of pepper!

IMG_2568


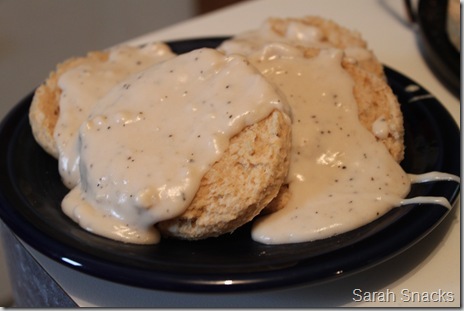
Pour over your biscuits and devour!

I was going to set it up all pretty and take some pictures but it looked so yummy I just couldn’t wait that long!

IMG_2573

Mmmmmmmm!!!!!!! 

I. Love. Brunch.

Hope you make this soon and I hope you love it!


Happy snacking!!

DCFB33FA1087C7ABE7ECAC74BDFF501E