Make your own almond butter!

First of all, I’m in the library at school and the campus is on lock down.  I’m kind of freaking out.  There was a shooting threat, so they locked us down.  So instead of studying like I’m supposed to be doing, I’m blogging.  I totally can’t concentrate on A&P right now.

On to happier things…

Like almond butter…

I love almond butter, but I don’t love paying $10 a jar for the good stuff.  Especially when I can make it at home for a fraction of the cost!

So I buy the big bags of almonds at Costco and just make my own!  It’s so simple you won’t believe you haven’t been doing it all along!  It’s a teeny bit more work that peanut butter, but not much.  And it’s totally worth it!

So here’s what you need…

About 2 cups of almonds (make sure they’re not salted)
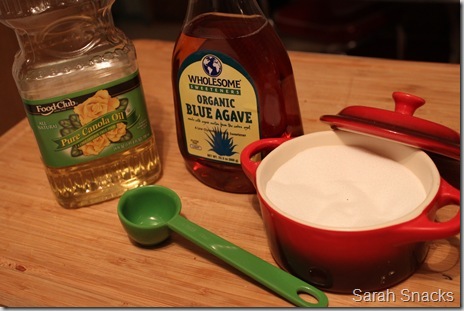
canola oil (about 1/2 tablespoon- you can omit this but you won’t get quite the smooth consistency if you do)
pinch of salt
agave nectar or maple syrup (to taste.  also optional.)

And here’s what you do…

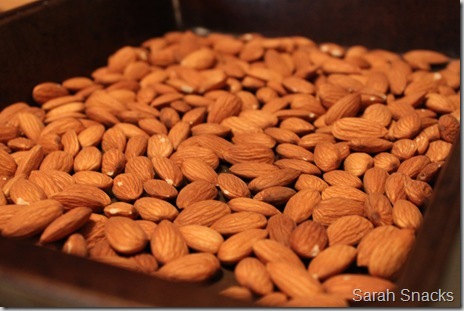
Put your almonds on an ungreased baking sheet.

IMG_2598

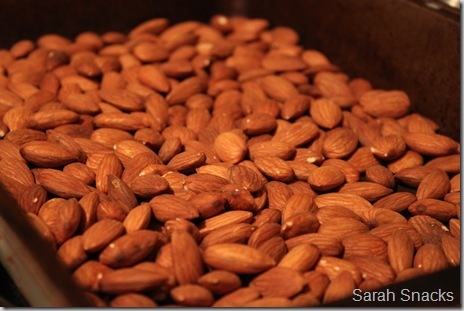
Roast in a 300 F oven for about 25 mins, stirring occasionally. (skip this step if you have almonds that are already roasted)

IMG_2602

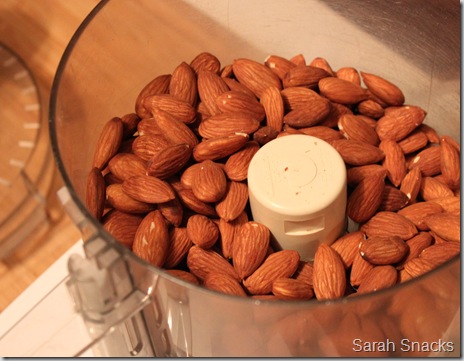
Into the food processor they go!

IMG_2603

Here’s how the next few steps go.  This will take around 10 ish minutes, depending on how powerful your food processor is…

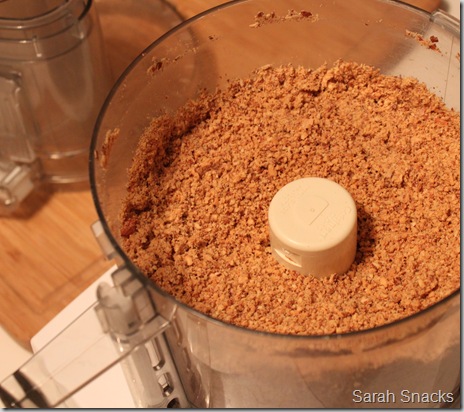
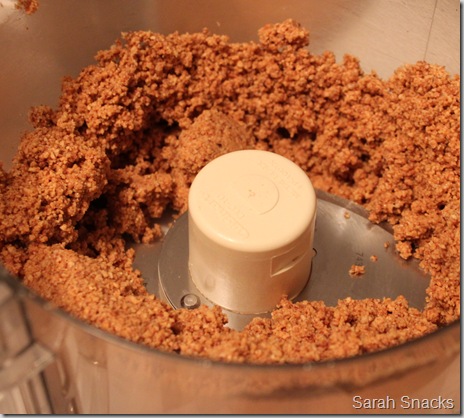
First they will grind to a crumbly consistency.  Keep going!

IMG_2605

Then they will start coming together a bit.  Keep going!

IMG_2606

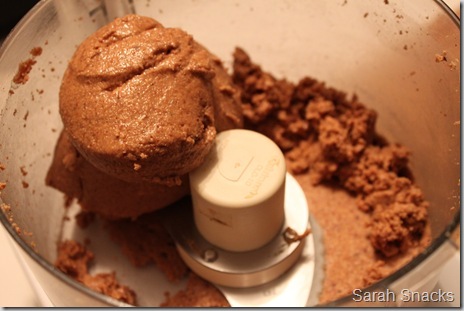
Then it will clump together in a big ball.  Keep going!

IMG_2609

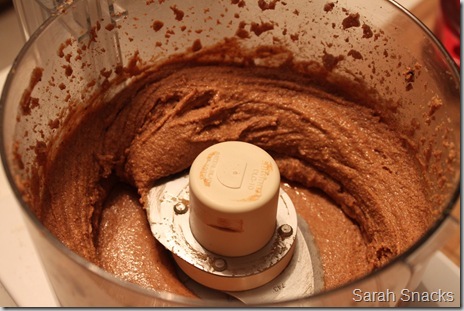
Then it will start coming together and looking like almond butter.  Don’t be fooled- it’s not ready yet!  Keep going!

IMG_2610

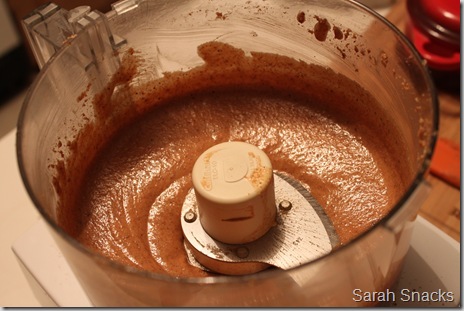
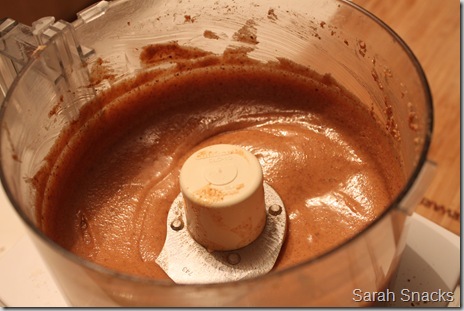
Keep going till it’s a nice smooth creamy consistency, like this.

IMG_2614

Then add in your 1/2 tablespoon of canola oil, a few pinches of salt, and a drizzle of agave nectar, to taste. 

IMG_2616

Give it a few more seconds and you’re done!

IMG_2618

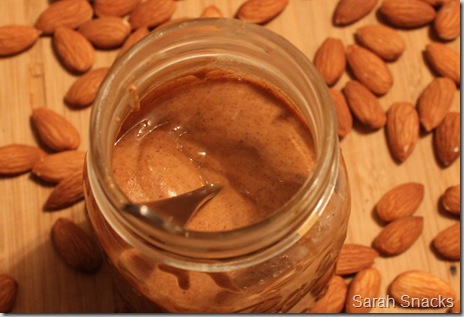
Store in a jar with a lid and you’re good to go!  When I first started making my own nut butters I stored them in the fridge because I was afraid they would go bad.  Not necessary- we go through a jar in about a week, they don’t have time to go bad around here!  But if you don’t eat much nut butter then you may want to think about stashing it in the fridge.


IMG_2626


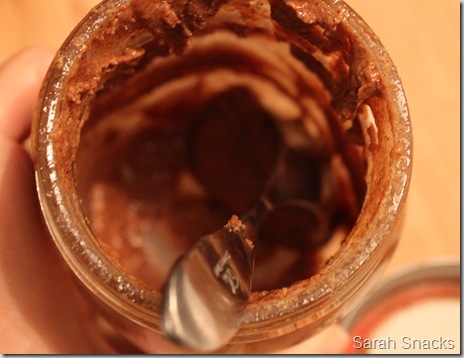
Oh, and you want to know what an almost empty jar of almond butter is best for?

IMG_2629

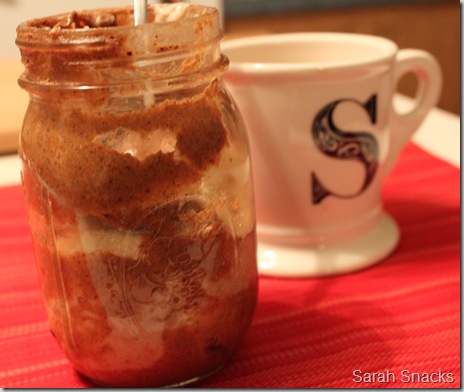
To eat your oatmeal out of!

Just pour in the nice hot oats, top with your fav toppings, and the almond butter on the sides and in the little nooks and crannies of the jar just melts into the oats!  Mmmmmm!

That was what was for breakfast this morning!

IMG_2641


Hope you are inspired to start making your own nut butters!

Happy snacking!!

DCFB33FA1087C7ABE7ECAC74BDFF501E


P.S.  Update on the lock down… after about an hour and a half, they just lifted it.  I have another class this afternoon, but I’m in no mood for that- I’m going home!!


Banana Oat Breakfast Muffins

These are delicious and so very simple to make.  Make a lot of them and freeze them ahead of time and heat them up for a super quick super healthy breakfast!  These were inspired by Ashley’s buckwheat muffin bake. 

P.S. no need to go buy the expensive oat flour at the specialty store- you can make your own by putting some oats in your blender or food processor and grinding them till they look like flour!

Banana Oat Breakfast Muffins (makes 2 good size muffins or several smaller muffins if you’d rather make them in a muffin pan)

(Print this recipe!)

Ingredients:
1/2 cup oat flour
2 Tablespoons rolled oats
1 teaspoon cinnamon
1 teaspoon baking powder
pinch of salt
1 banana, mashed
1/2 cup almond milk
1 teaspoon vanilla
2 flax eggs (2 tablespoons ground flax + 6 tablespoons water)

Directions:
Preheat oven to 350 F.

Whisk together flax egg (2 T ground flax + 6 T water) and set aside.

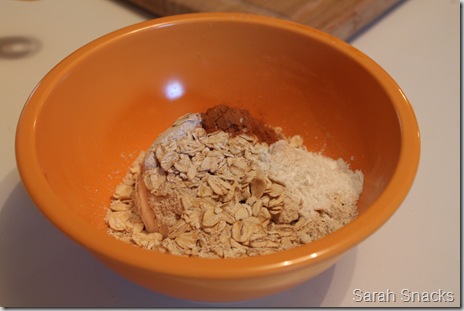
In a small bowl mix together oat flour, rolled oats, cinnamon, baking soda, and pinch of salt.

IMG_2449


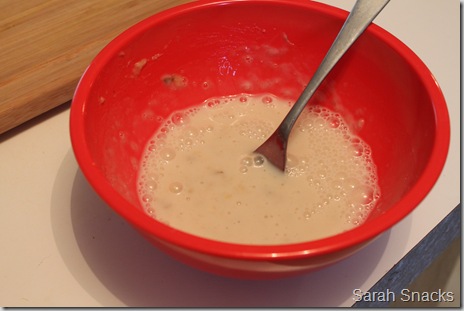
In a bigger bowl whisk together mashed banana, almond milk, and vanilla.

IMG_2451


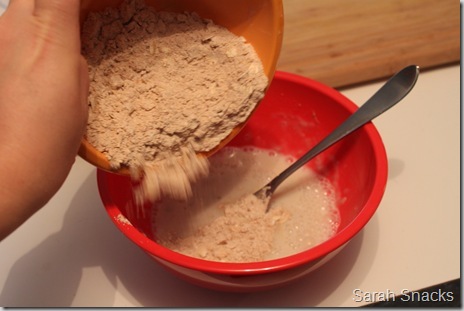
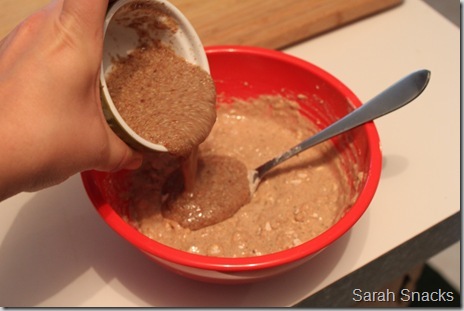
Add dry ingredients into wet and stir until just combined.

IMG_2454


Add flax egg to the mixture and stir to combine.

IMG_2459


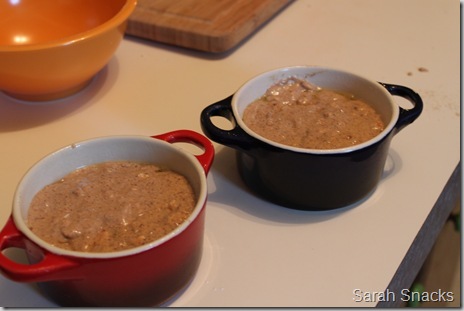
Pour into two ovenproof containers or a muffin pan and bake in a 350 F oven for 35 minutes. 

IMG_2461

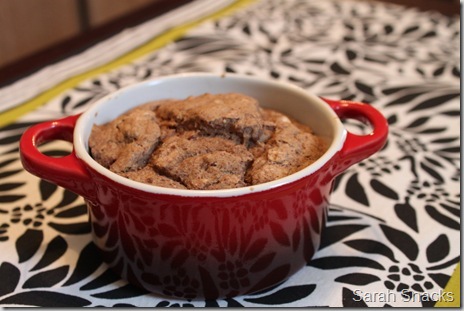
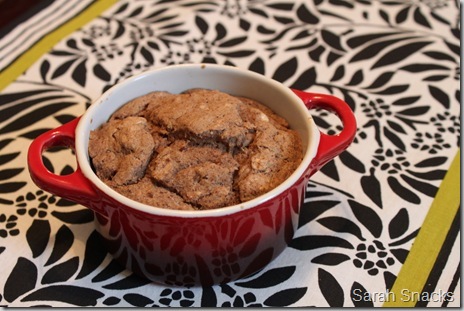
Do try to let them cool a little before you snarf them down!

(I couldn’t decide which of these three pics I liked best, so you have to see all three of them! Smile)

IMG_2463


IMG_2464


IMG_2467


You could totally eat this as is, or take it to go on a rushed morning OR you could top it with some seriously awesome toppings!  Like almond butter, peanut butter, coconut butter, walnuts, fruit preserves, or shredded coconut to name a few!


Happy snacking!

DCFB33FA1087C7ABE7ECAC74BDFF501E


The best sweet potato fries

This may be controversial, but I’m going to go on record saying that the best sweet potato fries are actually cut into rounds and not fry shape.  *gasp*

I know that this news will probably rock your world, but it’s the truth.  And sometimes the truth hurts.  I just tell it like it is folks!

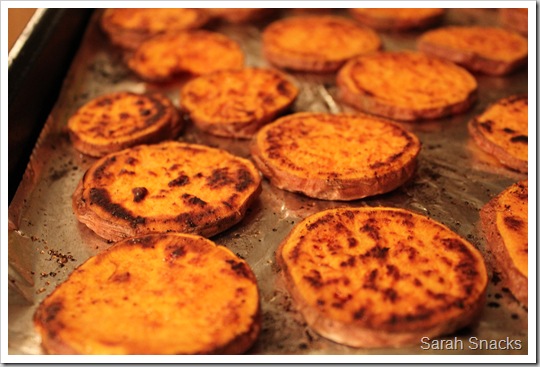
Have you ever noticed that when you cut a sweet potato into fry shape it doesn’t really get crispy?  Try it my way and you’ll never look back.  Plus it gets really cool cheetah-like spots when you cut them into rounds and who doesn’t like that?!

The best sweet potato fries

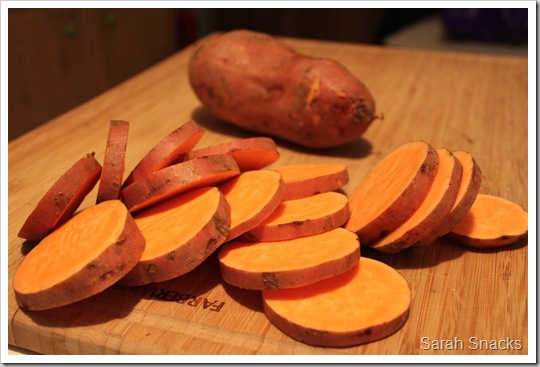
Cut your sweet potatoes into rounds.

IMG_2006

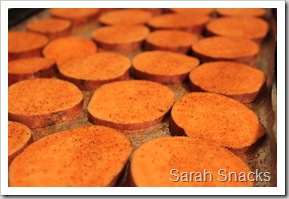
Place onto a foil lined baking sheet that’s been spritzed with a little cooking spray (or olive oil)

Bring on the Tony’s!!
IMG_2010


I usually use it quite generously, but it can be a bit spicy when you use a lot of it.  Just warning you!
 

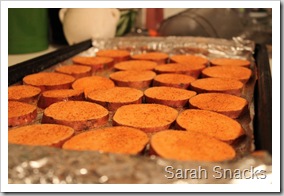
 IMG_2012 IMG_2011 


Bake in a 475 F oven and flip when the bottom starts to brown up (10-15 minutes).

Bake until they reach the desired spottiness and devour with ketchup or whatever condiments you like!

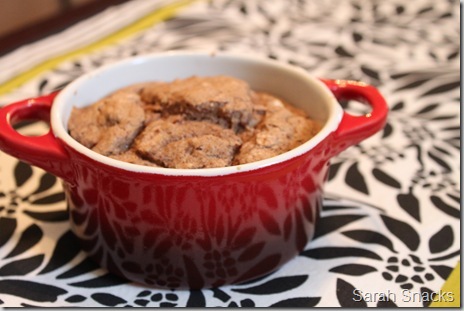
IMG_2015

They’re cheetah-licious!  I’d eat these things all day every day if I wouldn’t turn orange!

Enjoy your fries!

DCFB33FA1087C7ABE7ECAC74BDFF501E

This one’s for you Jack!

Did you hear that Jack LeLanne died yesterday?  Do a quick google search if you have no idea who I’m talking about and you’ll find an amazing story of an amazing guy!

I’m sure everyone knows who that is- the famous Jack LeLanne Juicer?  We’ve all heard of that right?

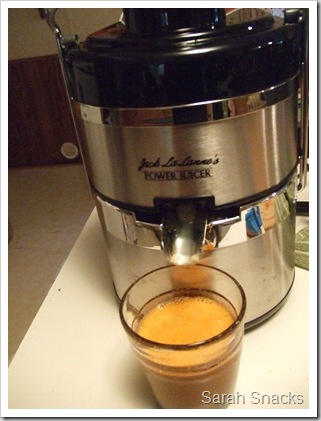
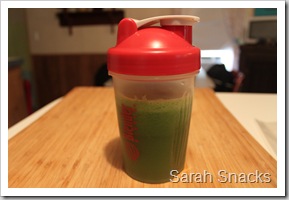
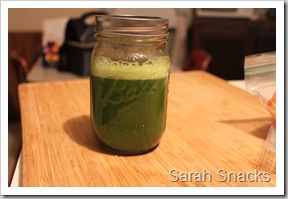
Well since I’m sitting here sipping my favorite green juice right now (made with my Jack LeLanne juicer of course!) I thought I’d just share some of my fav juice combos!

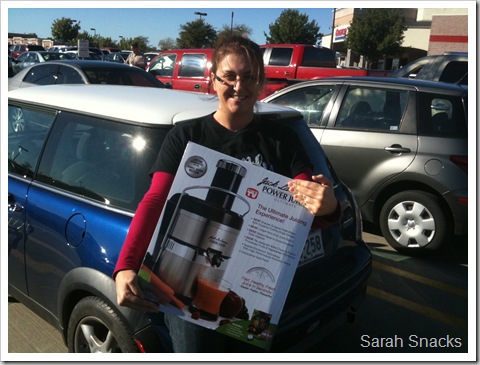
I have the Jack LeLanne Deluxe juicer ($150 retail, but I got it for $89 at Costco!!)

juice!

DSCF3187

Here are some of my fav combos of fruits/veg…

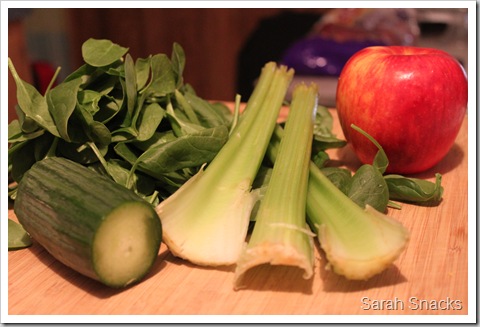
My number one fav is spinach(or kale), celery, cucumber, and an apple (red or green depending on the mood I’m in)

IMG_2021

 IMG_2026 IMG_2038

Sometimes I will have just one in the morning, but most of the time I like to take one to drink on the way to school or work, then have another one hanging out in my lunch box (kept cold with ice packs) for a little pick me up in the afternoon.  You would be amazed at the amount of energy one of these babies will give you.


I also like to add beets and carrots to the mix sometimes…

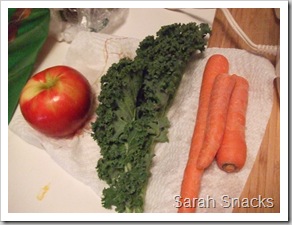
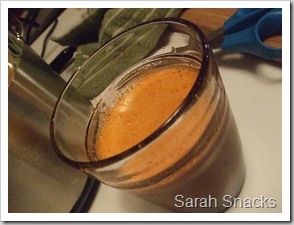
This one’s kale, carrot, and apple.

DSCF3186DSCF3189  


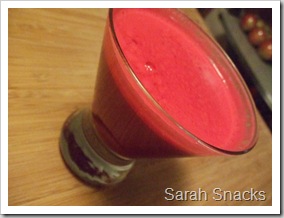
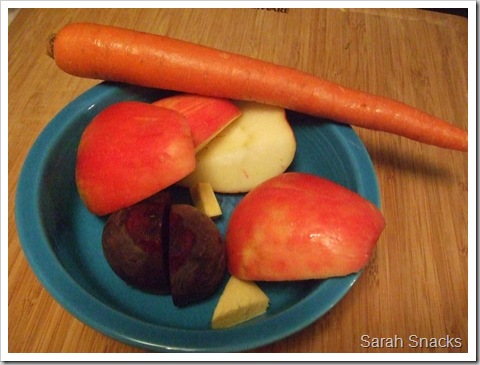
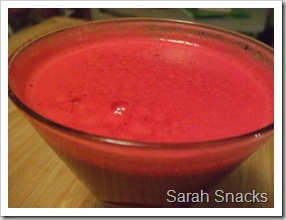
This one’s carrot, beet, apple, and ginger.  The ginger adds a really nice warmth to the juice and the beet makes it such a pretty color! 

DSCF3194

DSCF3197 DSCF3196 


Those are just a few ideas.  We’ve also just juiced one type of fruit- clementines (yummy but SO sweet), honeycrisp apples, grapes and blueberries, etc…  I haven’t had a bad one yet!

Pretty much I always do an apple to cut down on the greeny flavor a bit.  I also always do something green- either kale or spinach. 

I notice a huge increase in energy when I drink my green juice.  Not sure on the science of this one, looks like I’ll have to do a little research to find out why! 


Anyway, here’s to you Jack…cheers!

DCFB33FA1087C7ABE7ECAC74BDFF501E

Chick-un soup for the vegan soul

No chicken was hurt in the making of this soup!


Chick- un noodle soup

(Print this recipe!)

Ingredients:
2 carrots, diced
3-4 celery stalks, diced
1 small onion, chopped
Olive oil
3 not-chick’n bullion cubes + 6 cups hot water (or 6 cups veggie broth)
2 cups cooked pasta of your choice (I used whole wheat spaghetti)
salt and pepper to taste

Directions:
Drizzle a little olive oil in a stockpot and heat over medium heat.  Add the onion, celery, and carrots and sauté until tender.  Add the bullion cubes and hot water and simmer for about 10-15 minutes.  Add the pasta and serve.  I added some sautéed gardein chick’n scallopini at the end when I put the soup into the bowls.

Simple, but delicious!

  DSCF3456


DCFB33FA1087C7ABE7ECAC74BDFF501E